
image tool
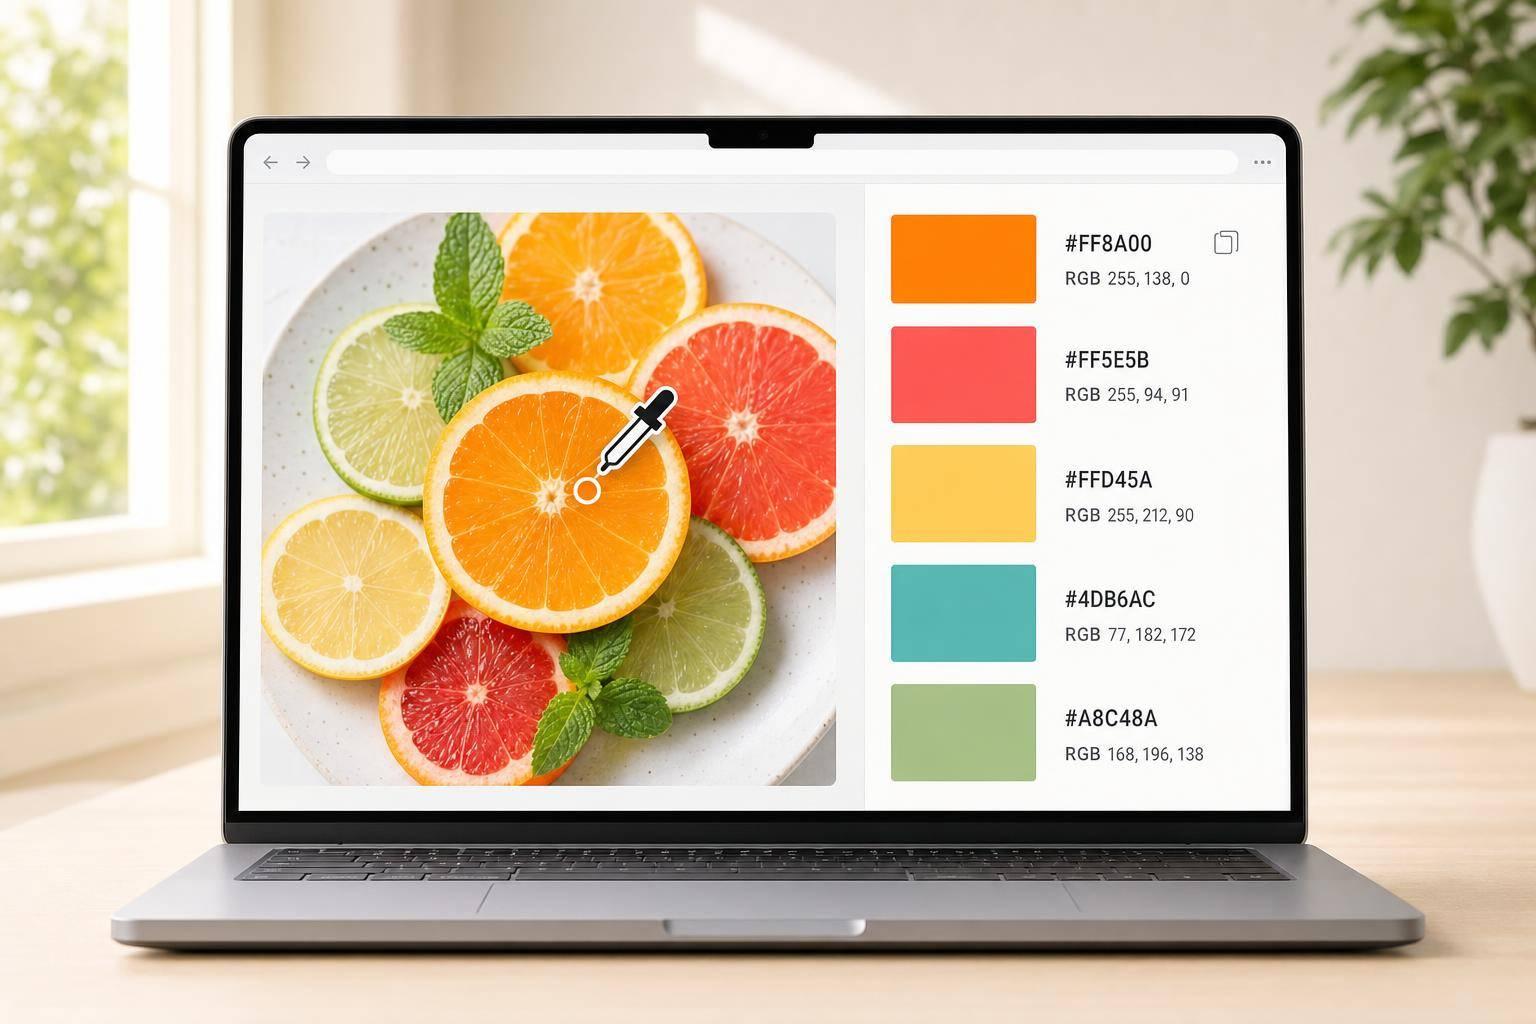

You can get the main colors from a photo in seconds without installing anything. I can upload an image in my browser, let the tool pull the top color swatches, then click a single pixel when I need one exact shade.
Here’s the short version:
#1A2B3Crgb(26, 43, 60)A few image issues can change the result: compression, blur, strong filters, and large gradients. For example, a gradient may produce one averaged shade instead of one exact tone. And if a background fills most of the frame, it can dominate the palette.
Here’s the fastest way I’d use it:
If I just need the answer: palette tools are best for the overall color scheme, while pixel picking is best for precision. That’s the whole idea of the article, in simple terms.
Before you extract colors, get the image ready first. Trim away big white borders and flat neutral areas, since they can push the palette toward gray or white.
ROCKIMG supports JPG, PNG, WebP, and GIF. If color accuracy matters most, use PNG. JPEG compression can shift pixel values a bit, which may affect the result. PNG keeps color values closer to the source, so the palette tends to be more accurate.
Animated GIFs are often analyzed frame by frame, so static images usually give cleaner palette results.
Color detection works best with clean images that haven't been heavily compressed. Sharp files with light compression tend to give better output than oversized images or files with heavy filters.
A few things can throw off the result:
Gradients can be awkward too, because the tool may return an averaged tone instead of one clear shade.
Transparent pixels in PNG and GIF files are usually left out of the analysis, so they don't distort the result.
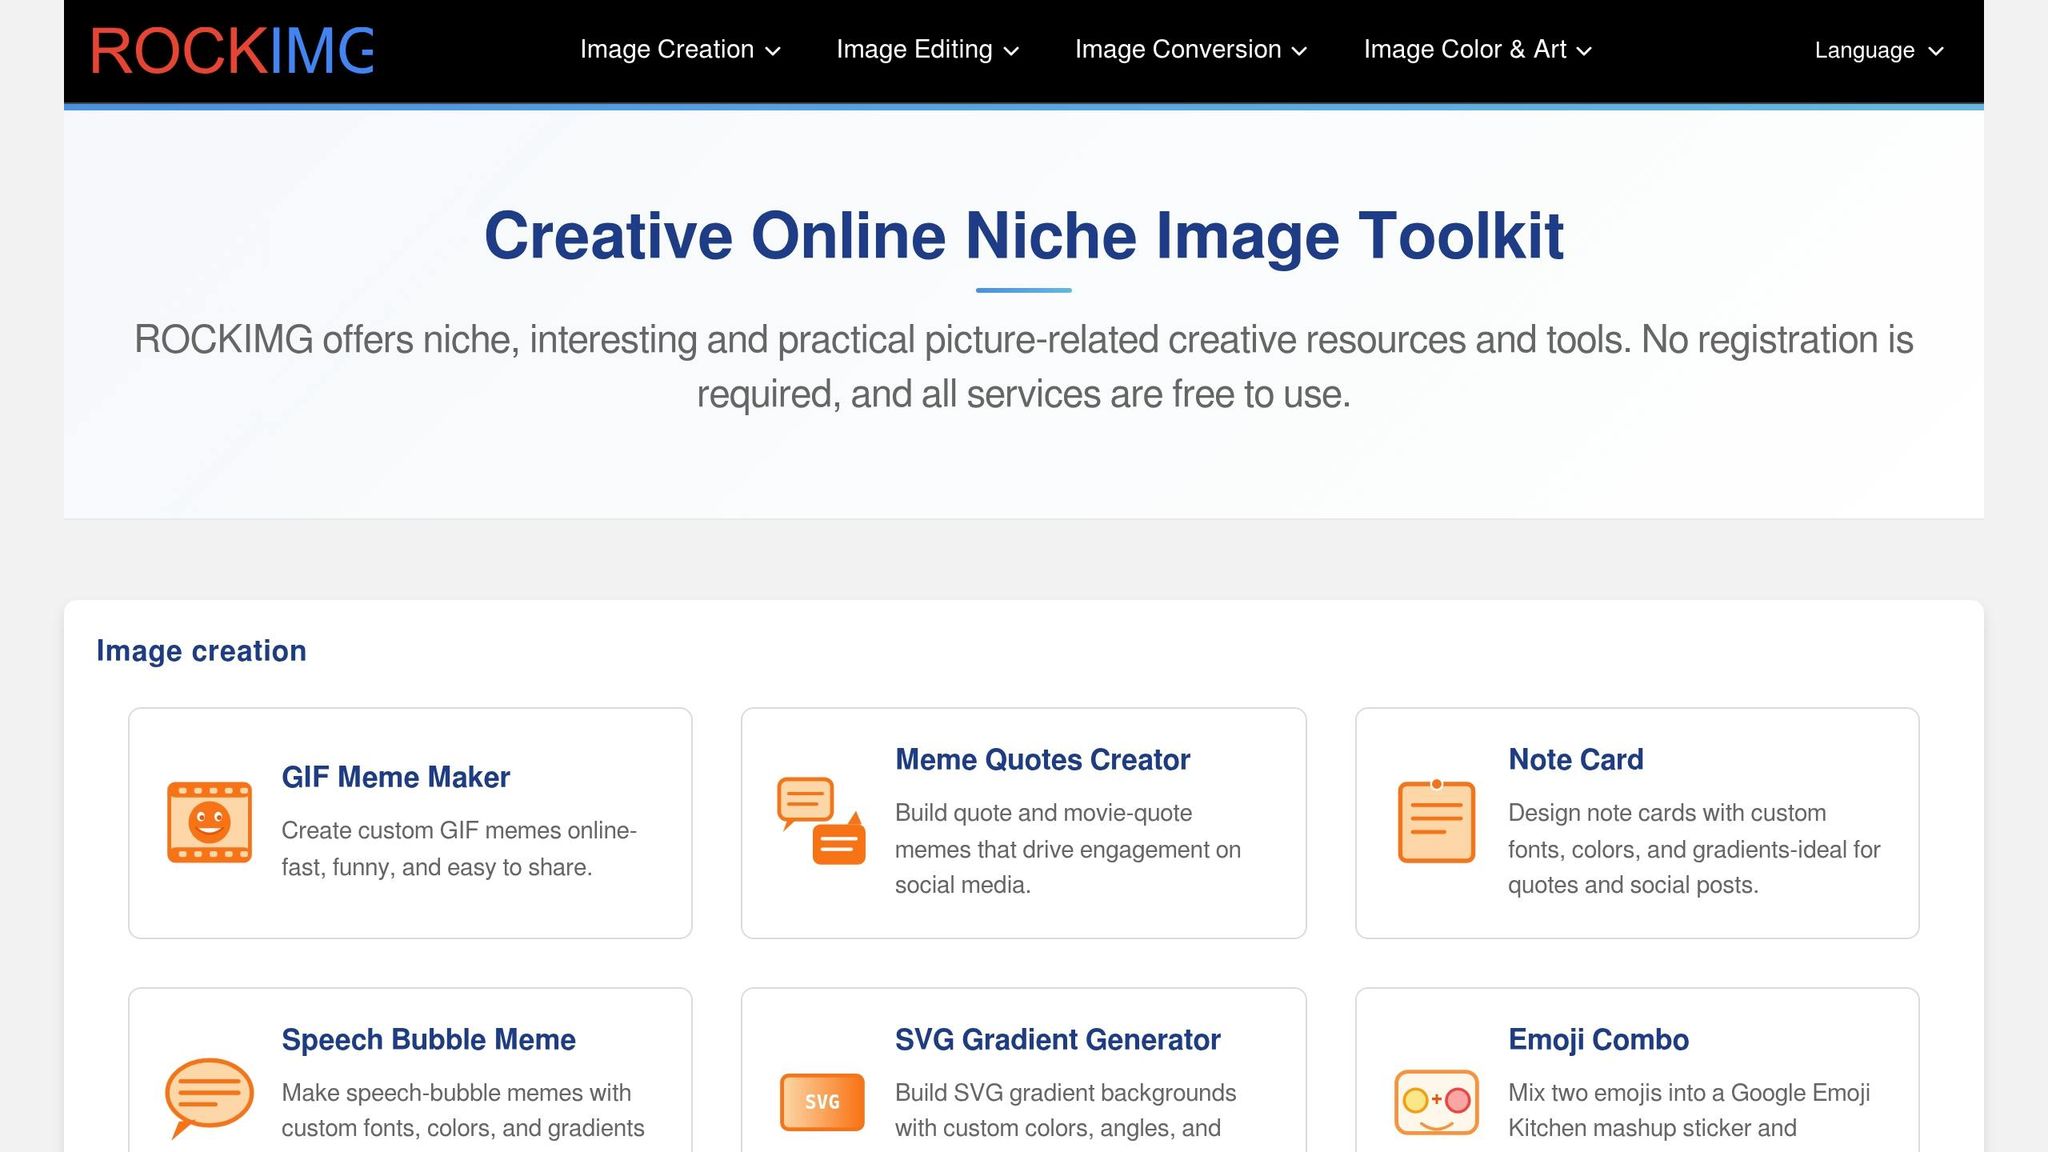
Open ROCKIMG's color tool. It's free and doesn't require registration. Drag and drop your file, or click the upload box to open your file picker.
After you add the file, the tool shows a Processing status while it handles the image locally in your browser. That means the image stays on your device. When processing is done, you'll see the image preview and the dominant color palette. Bigger files take more time to process.
Once the image loads, you can extract the palette or sample an exact pixel.
Color Picker vs. Dominant Palette: When to Use Each Method
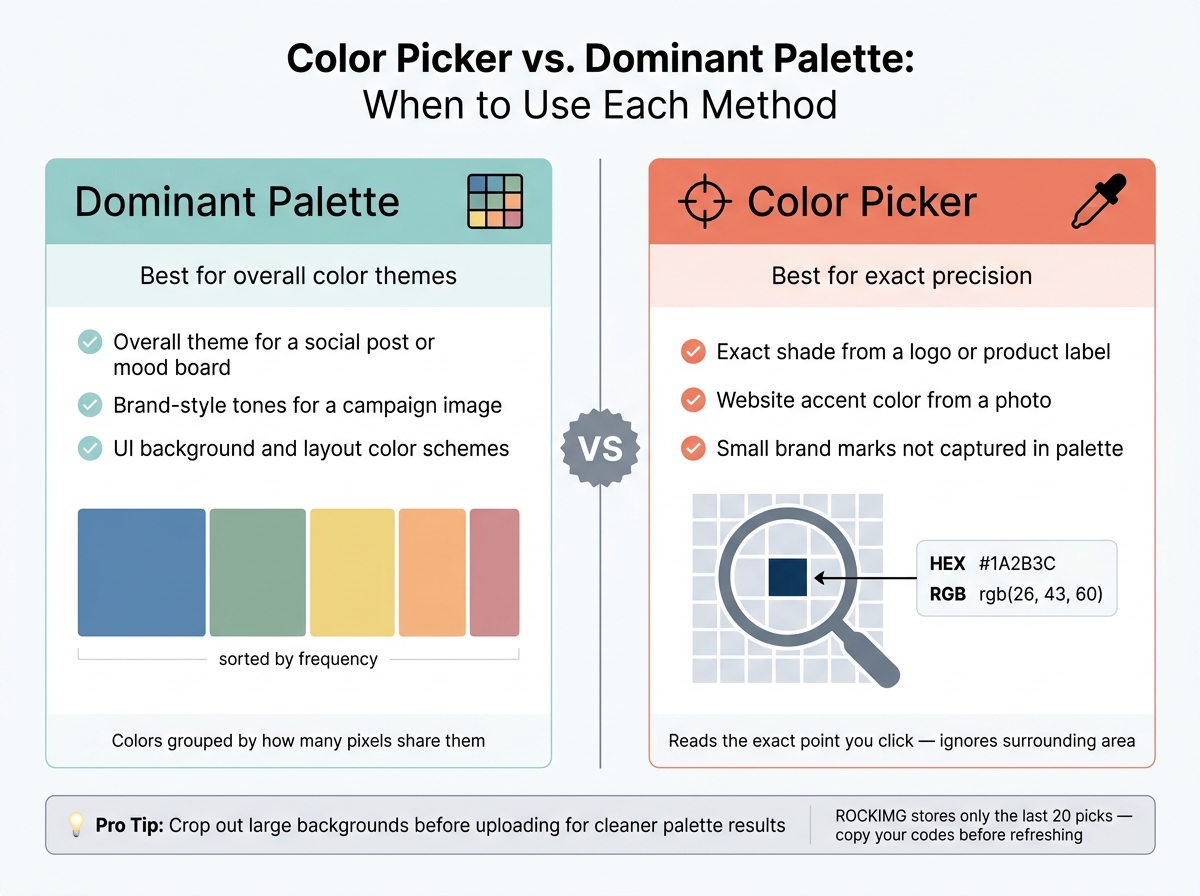
Once you upload an image, ROCKIMG builds a dominant palette on its own. You can also sample any pixel from the preview. A simple way to work is this: use the palette for broad matches, then use the picker when you need the exact pixel.
The tool scans the image and groups similar colors into a small set of swatches. Those swatches are sorted by frequency, so the first one is the most common. In many cases, it sets the overall tone of the image. The smaller swatches usually work better as accent colors.
Use the picker when you need an exact detail, like a logo corner, button, or product label. Hover over the image to open the magnifier, then click the exact pixel you want. The tool locks in that exact color and shows its values right away.
This works best when the color you need only appears in a small part of the image. A thin accent stripe or a brand mark may not appear in the palette at all, because palette extraction depends on how many pixels share that color. The picker doesn’t care about area. It reads the exact point you click.
The best method depends on the job. Use the dominant palette when you want the overall color story of an image. That’s a good fit for building a social media color scheme, putting together a mood board, or pulling brand-style tones from a photo.
Use the color picker when you need one precise value from a specific element, like matching a logo color for a website button.
Use this quick rule:
| Goal | Best Method |
|---|---|
| Overall theme for a social post or mood board | Dominant palette |
| Exact shade from a logo or product label | Color picker |
| Website accent color from a photo | Color picker |
| Brand-style tones for a campaign image | Dominant palette |
If the background takes up most of the image, crop to the subject before you upload.
Once you land on the right shade, the next step is simple: copy the code in the format your project uses. After you pick a color, ROCKIMG displays both the HEX and RGB values so you can grab either one fast.
A HEX code starts with # and uses six characters, like #1A2B3C. An RGB value looks like rgb(26, 43, 60). Each number shows how much red, green, and blue are in the color, on a scale from 0 to 255.
These two formats point to the same color. They just show it in different ways. HEX is common in CSS and many design tools. RGB often comes in handy in slides or docs.
Use HEX for web output and RGB for other design work. After you click a pixel or generate a palette, ROCKIMG shows both values for that color. Hit the copy button for the format you need, then paste it into your file.
One small catch: ROCKIMG stores only the latest 20 picks, and refreshing clears them. So if you want to keep a color, copy it before you close the tab or reload the page.
Save your codes somewhere easy to find. A notes app works fine. A spreadsheet works even better if you're juggling a few colors at once.
A simple setup can include:
That kind of small habit makes it much easier to keep your palette consistent across the project.
Upload an image, pull out the main palette, sample exact pixels, and drop the HEX or RGB codes straight into your project.
ROCKIMG handles both palette extraction and pixel-level color picking right in your browser. There’s no install and no account setup. Your images stay on your device, which means nothing gets sent to a server.
Save each color role with its HEX or RGB code so future palettes stay consistent.
The generated palette shows the main average colors in the image, not every single pixel. Similar shades are grouped, so some exact colors may be missing from the palette.
If you need a precise match, use the magnifier tool or drag the color pickers to sample the exact pixel by hand. You can also increase the palette count to show more subtle tones.
Both PNG and JPG are good options for extracting color data, so in most cases, either one will do the job.
If the image includes transparency, PNG is the better pick. That’s because transparent pixels are often left out during analysis. And if you’re working with high-quality graphics, JPG compression can add small artifacts that slightly shift pixel colors.
If you want the most accurate results, keep the file size under 10 MB.
Crop out anything that doesn’t match the colors you want to study. The tool checks every pixel in the image, so removing borders, text, or busy backgrounds helps keep the palette centered on your subject.
If the image has transparent areas, crop those out when you can. If not, it helps to know the tool will ignore them, so they won’t push the results toward white or black.