
image tool
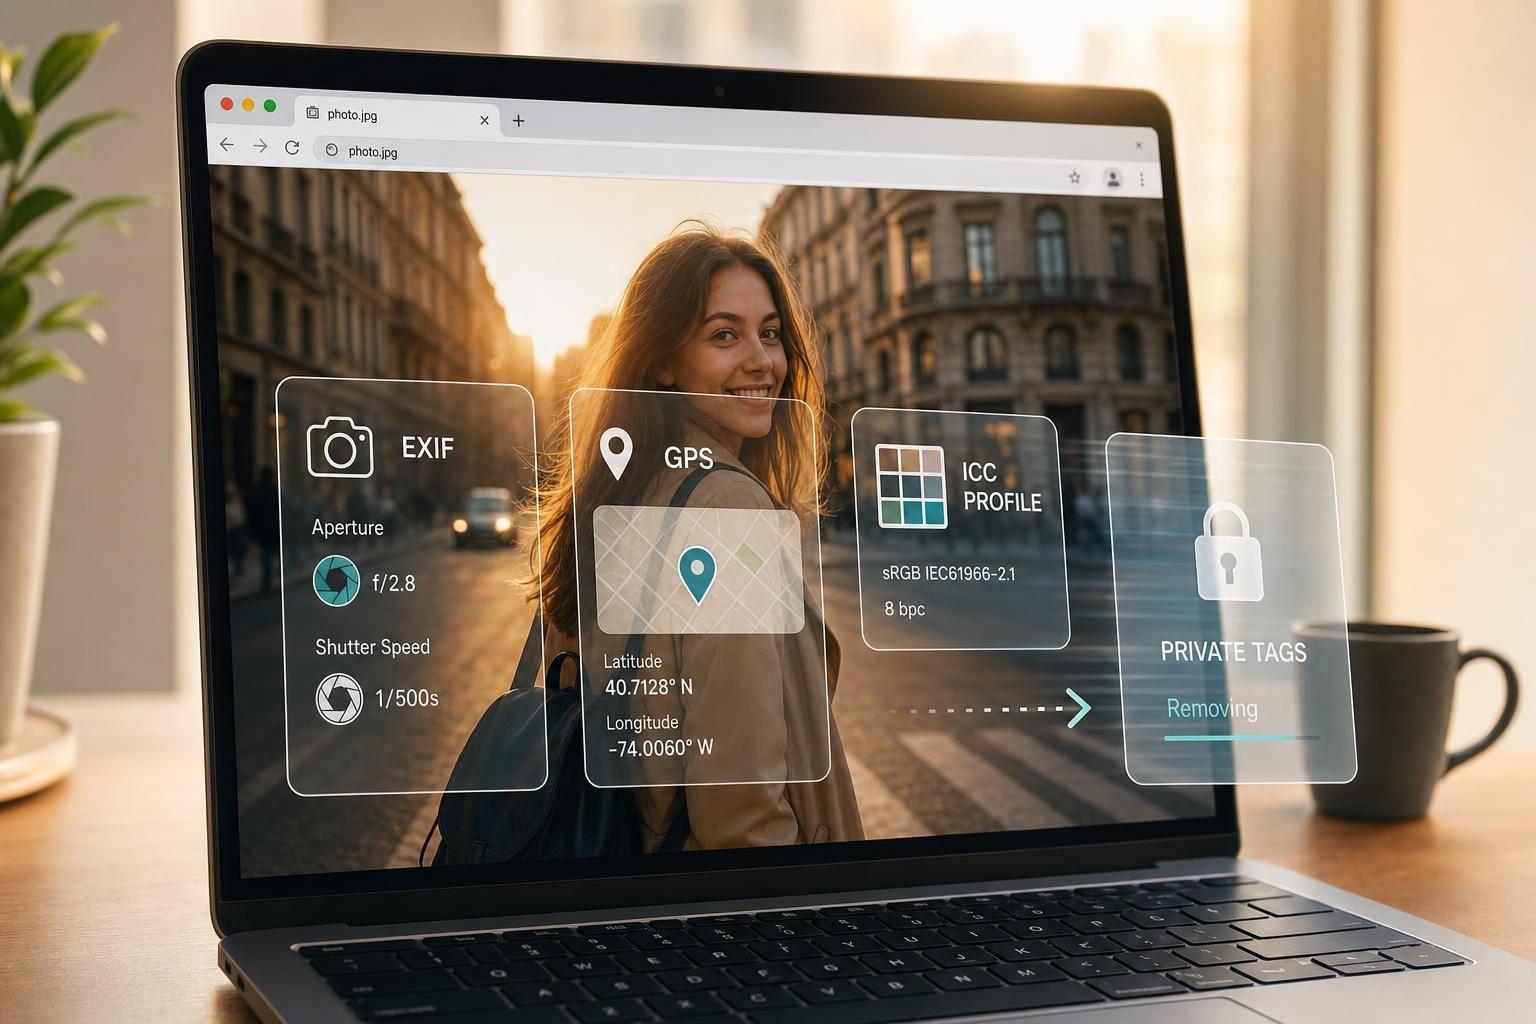

You can check an image in your browser in two steps: first look at file details, then inspect the hidden tags. In a minute or two, I can confirm the file type, pixel size, MIME type, color profile, camera data, timestamps, GPS location, and edit software. That matters because some photos still carry location data accurate to about 3 to 5 meters.
Here’s the short version:
image/webp or image/avifDateTimeOriginalA simple rule works here: check first, share second. If I only use built-in browser tools, I’ll see file-level info. If I want hidden photo data, I need a metadata viewer in the browser.
How to Check & Clean Image Metadata in Your Browser
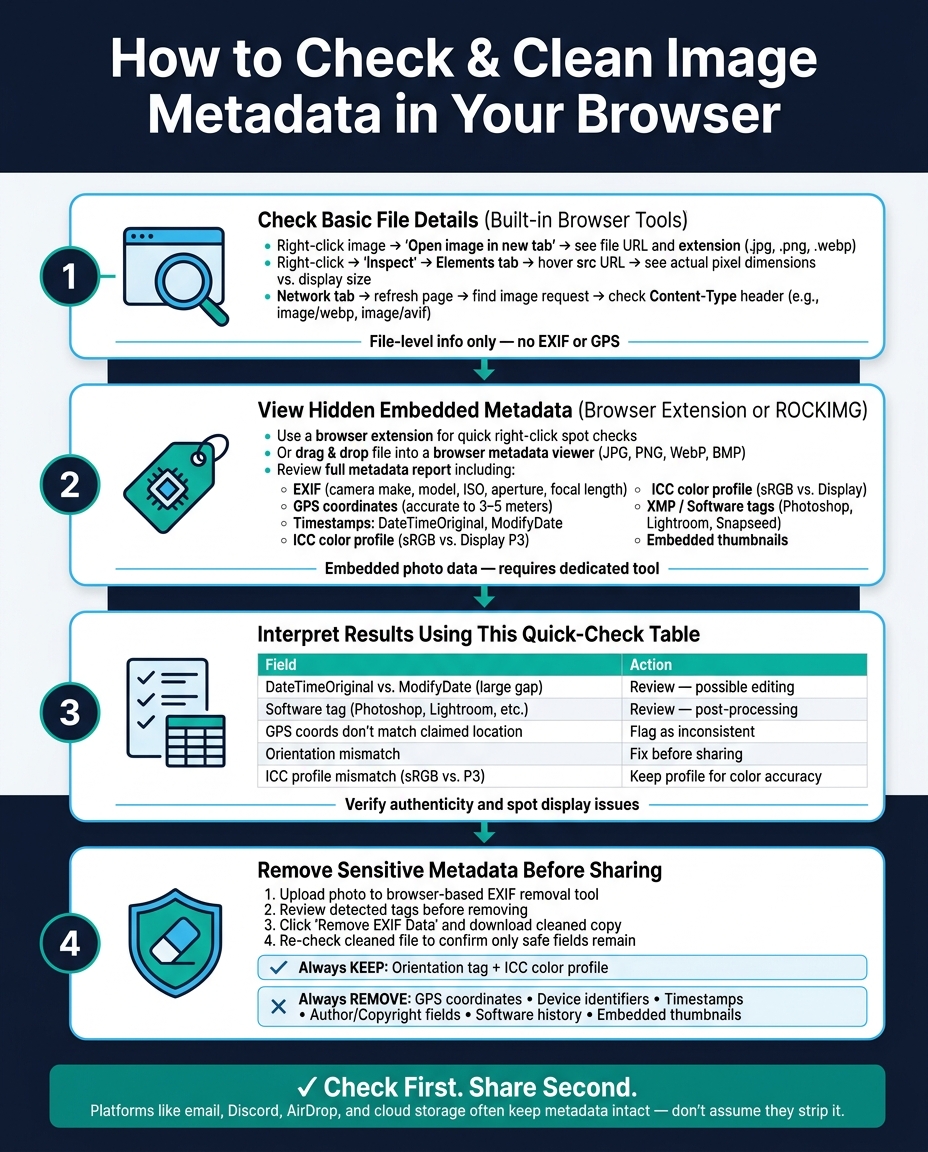
Start with the browser itself. It’s the fastest way to check the file type, file size, and where the image is coming from before you dig into embedded metadata. If the image loads on a page, Developer Tools can show what the browser is actually receiving. Use these checks first. Then, if you need camera, GPS, or edit data, move on to embedded metadata.
Right-click any image on a webpage and select "Open image in new tab." The address bar will show the direct URL to the file. In many cases, that URL also shows the file extension, like .jpg, .png, or .webp.
That gives you a quick read on the file extension and format. You can also use "Save image as..." to see the suggested filename and extension before downloading anything.
Right-click the image and select "Inspect" to open Developer Tools. In the Elements tab, hover over the image src URL. You’ll usually see a preview with both the actual pixel dimensions - the file’s true pixel size - and the display size, which is how large the image appears on the page.
If the actual pixel dimensions are small but the image is shown much larger, the browser is stretching it. That’s why it looks blurry.
The Network tab helps with file delivery details. Refresh the page while the tab is open, find the image request, and check the Content-Type response header. That field shows the response MIME type, such as image/webp or image/avif, even when the filename ends in .jpg.
Built-in browser tools show file-level details, not embedded photo metadata. They won’t show:
If the browser only gives you file-level details, the next step is a browser-based metadata viewer. That’s the tool to use for embedded EXIF, GPS, and software tags.
For embedded photo data, move past basic file details and use a browser-based metadata report instead. A browser-based metadata viewer can read embedded EXIF, GPS, ICC, and XMP data right in your browser. Some tools handle the file locally, so the image stays on your device.
A browser extension is handy for fast spot checks. It can show metadata right on a webpage through a right-click menu, which saves you from downloading the image first.
In most cases, these tools show the fields people care about most:
If you want a deeper report, open the image in ROCKIMG.
When a quick glance isn't enough, upload the file and review the full metadata table. ROCKIMG's Image Authenticity Checker lets you drag and drop JPG, PNG, WebP, or BMP files straight into your browser. Open the tool, add your image, and go to the Metadata tab to review the report.
The report shows format, dimensions, color profile, EXIF data, timestamps, GPS coordinates, and software tags. It also checks for AI-generation tags and C2PA/Content Credentials. If camera tags are missing, the data may never have been saved, or it may have been stripped out during editing. If GPS data shows up, double-check it before you share anything.
Use the report to make sure the image lines up with what you plan to share.
Once you’ve checked the metadata, the next step is simple: remove anything that could expose private details before you share the file.
The biggest trouble spots are the same fields shown in the report: GPS coordinates, author tags, software history, and timestamps. Those fields can say a lot more about you than the photo itself.
Don’t assume a platform will clean this up for you. Email attachments, cloud storage, AirDrop, and Discord often keep metadata intact.
You can use the same browser tool to remove the fields you don’t want to share. ROCKIMG’s EXIF removal tool runs in your browser and processes the image locally.
ROCKIMG removes metadata without changing how the image looks. One small detail matters here: keep the Orientation tag so portrait photos don’t end up sideways.
After that, check the cleaned file in the browser one more time to make sure only the fields you want are still there.
Before you keep, fix, or remove anything, read the key fields first. That gives you a fast reality check on the file.
The fields you found can help you check whether an image looks untouched, displays the right way, and exposes more than you want.
Start with DateTimeOriginal and ModifyDate. If there's a big gap between them, that's a sign the file may have been edited after it was taken. Then check the Software tag. If it lists Photoshop, Lightroom, Snapseed, or another editor, the image went through post-processing.
Location data matters too. Compare the GPS coordinates with the claimed location. If they don't line up, flag it. And if the image rotates one way in one viewer and another way somewhere else, the Orientation tag likely needs a fix before you share the file.
Color can trip you up as well. Check the ICC profile. An sRGB vs. Display P3 mismatch can change how the image appears on different screens, so keep the right profile in place if you want the colors to stay consistent.
Use this quick check to decide whether a field needs review, correction, or removal.
| Field | What to look for | Action |
|---|---|---|
DateTimeOriginal vs. ModifyDate |
Large gap between the two | Review - may indicate editing |
Software |
Photoshop, Lightroom, Snapseed, etc. | Review - likely post-processing |
GPSLatitude / GPSLongitude |
Coordinates that don't match the claimed location | Flag as inconsistent |
Orientation |
Doesn't match how the image displays | Fix before sharing |
| ICC Color Profile | sRGB vs. Display P3 mismatch | Keep profile to preserve color accuracy |
Keep your original file untouched. Share only the cleaned copy when privacy matters.
At the same time, don't strip everything. Preserve the Orientation tag and ICC profile data so the image renders the way it should on the other end.
Image metadata may be missing for a few common reasons:
Screenshots usually don’t include EXIF metadata.
That’s because EXIF tags are normally added by cameras and smartphones at the moment a photo is taken. Screenshot tools on macOS, Windows, or Linux work differently. They usually save only what’s needed to show the image, like its dimensions and pixel data.
So when that hidden metadata is missing, it can be a clue that the image is a screenshot or a file that was re-saved, not an original photo from a camera.
No. Removing image metadata does not reduce image quality.
Metadata is stored separately from the image’s pixel data. So when a tool removes it, the photo itself stays the same.
In practice, these tools usually do one of two things:
The key point is simple: metadata and image quality are separate things. Stripping metadata changes file information, not the pixels you see.