image tool

If I had to sum it up in one line: Zight is my pick for bug reports, Annotely is my pick for step-by-step guides, Kapwing is my pick for polished product visuals, Snap Markup is my pick for iPhone/iPad edits, and ROCKIMG is my pick when I just want a free browser tool with no signup.
If you need to mark up photos or screenshots in 2026, I’d look at four things first:
That’s the core of this comparison.
Across these 5 tools - ROCKIMG, Annotely, Snap Markup, Zight, and Kapwing - the tradeoff is simple. Some tools focus on privacy and no-account use. Others focus on team sharing, numbered walkthroughs, or brand-ready visuals. Also, one free plan is capped at 25 items per month (Zight), one free plan adds watermarks (Kapwing), and one tool keeps processing local in your browser (ROCKIMG).
My short take:
If you handle private data like passwords or API keys, I’d avoid soft blur when possible. Use solid cover blocks or pixelation instead. That one choice matters more than extra shape options.
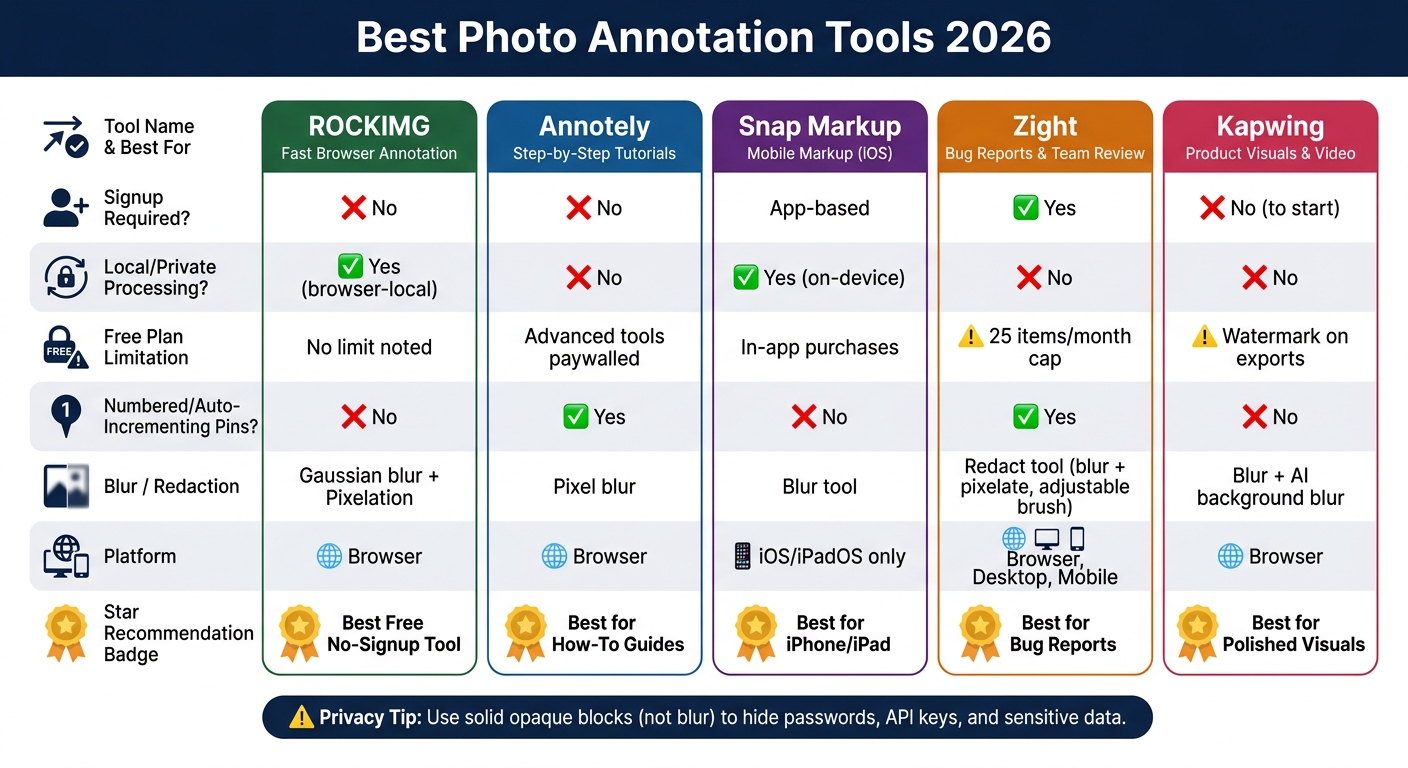
Best Photo Annotation Tools 2026: Side-by-Side Comparison
| Tool | Best for | Main strength | Main limit | Signup |
|---|---|---|---|---|
| ROCKIMG | Fast browser annotation | Local processing, no account, free | No auto-numbered pins | No |
| Annotely | Tutorials and step flows | Numbered pins, multi-slide guides | Less suited to product-style editing | No |
| Snap Markup | Mobile edits | iOS touch workflow, magnifier, blur | No desktop/browser version | App-based |
| Zight | Bug reports and team review | Step markers, redaction, comments, sharing | Free tier capped at 25 items/month | Yes |
| Kapwing | Product visuals and walkthroughs | Styled text, vector shapes, video support | Free exports include watermarks | No to start |
Bottom line: if you want the safest default for casual use, I’d start with ROCKIMG. If you need ordered steps, choose Annotely. If you work with a team, choose Zight. If image polish matters most, choose Kapwing. And if you edit from your phone, Snap Markup fits that job best.
That’s the full article in short form, without the extra detail.
ROCKIMG is a browser-based image toolkit built for quick annotation.
The Annotate Image tool gives you rectangles, ellipses, arrows, lines, and freehand paths. You can adjust stroke width, fill color, and line style, whether you want solid, dashed, or dotted outlines. That’s enough for bug reports, walkthroughs, and tutorial screenshots without making the image feel busy. If you’re working on product images, those same overlays also work well for watermarking.
And if shapes alone don’t do the job, you can move into blur or redaction in the same flow.
ROCKIMG splits blur into two tools: Blur Photo for Gaussian-style softening and Photo Mosaic for pixelation. If you need to hide a face in a screenshot, pixelation usually looks cleaner than blur. All processing happens locally in your browser, so sensitive files never leave your device, and ROCKIMG supports files up to 20MB.
That means redaction, labels, and arrows can all happen in one place.
ROCKIMG goes past plain text overlays with custom colors and sizes. It also includes Add Captions for fixed placement above or below the image, speech bubbles for comic-style callouts, and Add Text to GIF for frame-by-frame captions. The Highlight Image tool adds a spotlight effect to one area, which helps when you want to draw attention without covering what’s underneath.
Once that’s done, you can export or crop without jumping to another tool.
After annotating, you can compress the file, convert it to WebP or PNG, or crop it, all inside the browser. The Stop GIF tool lets you grab a single frame from an animation and mark it up as a static image. That’s handy for tutorial screenshots pulled from screen recordings. One missing piece for tutorial work is auto-incrementing numbered pins.
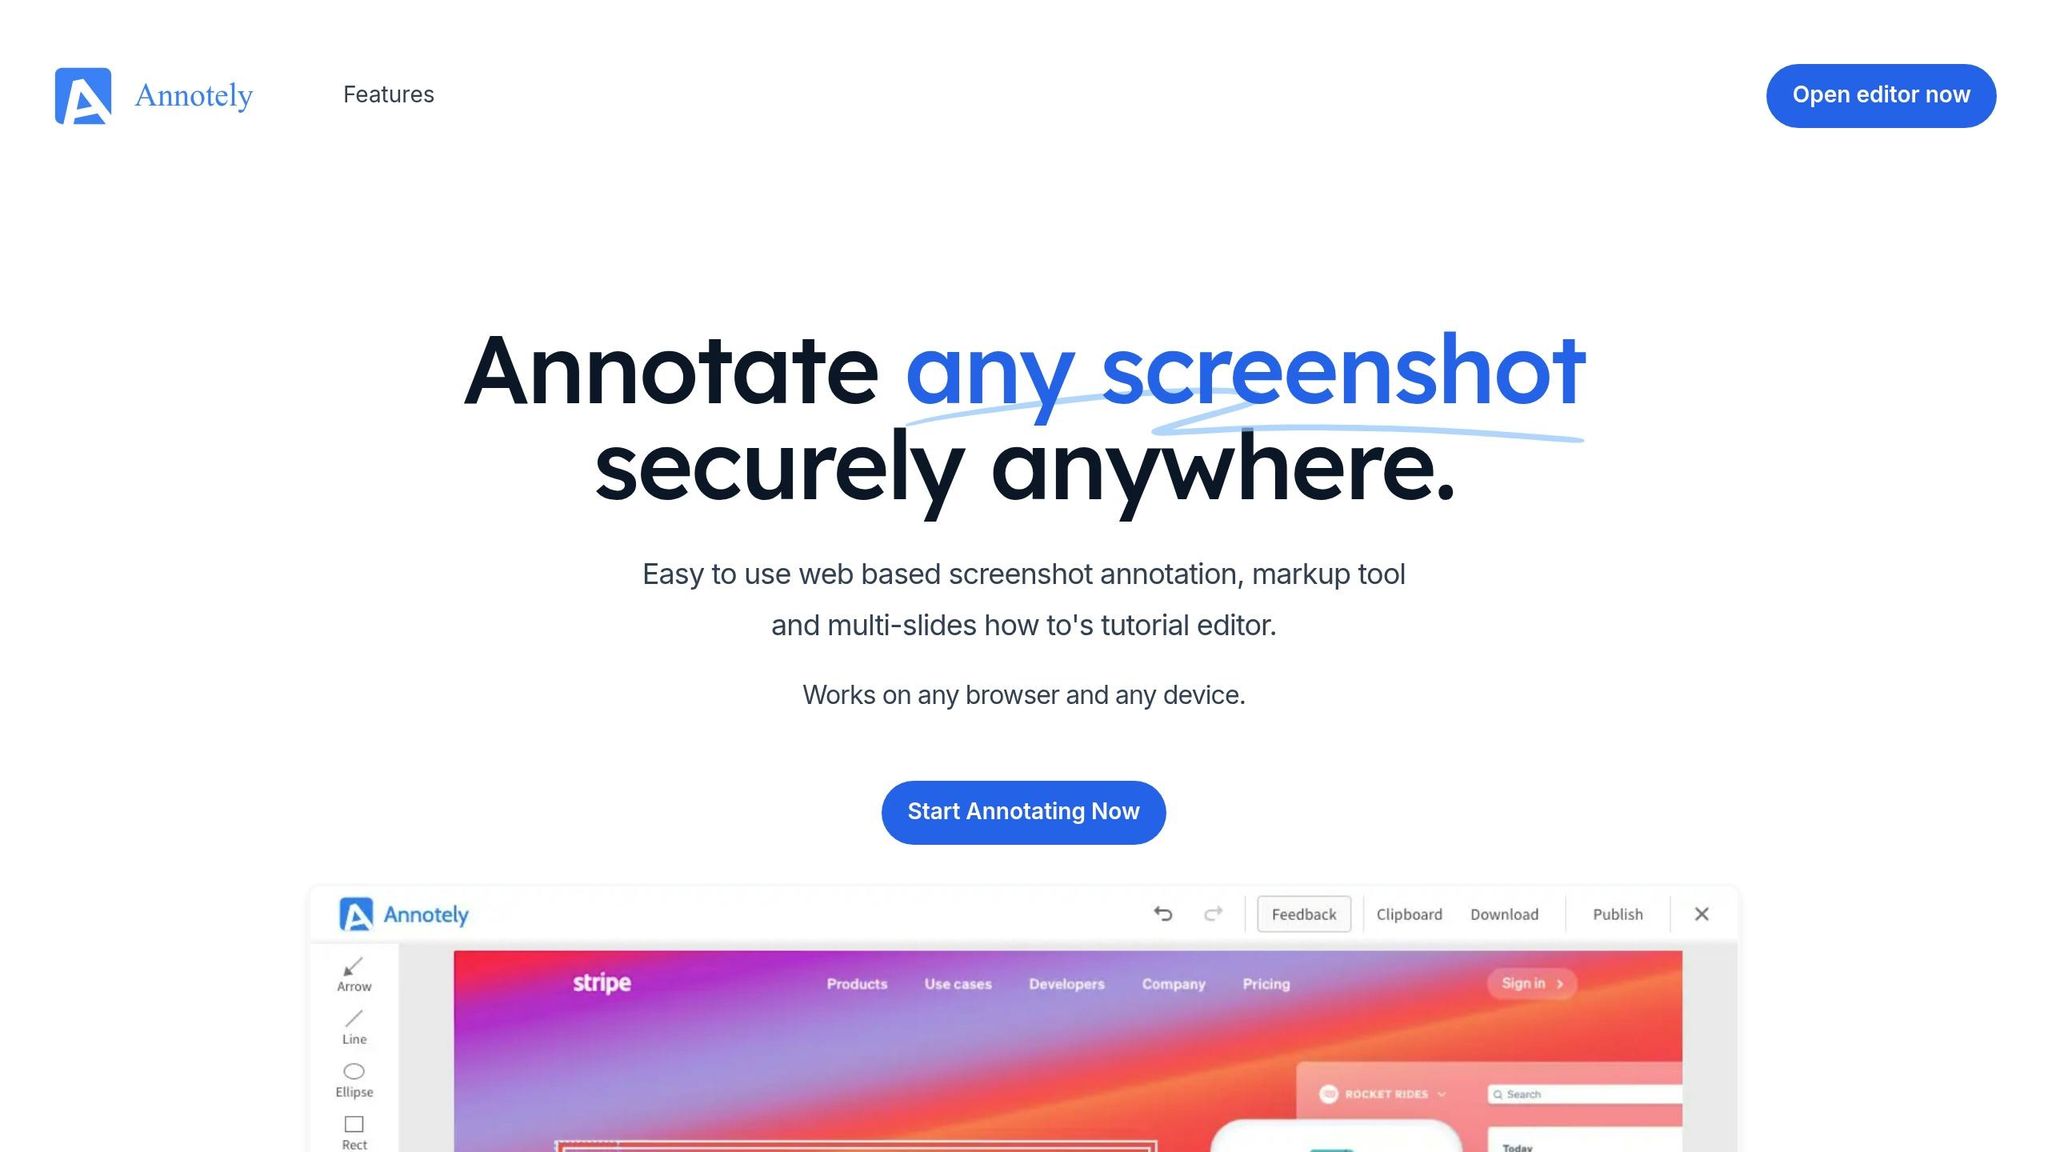
Annotely is a browser-based screenshot markup tool with no signup, no installation, and no export watermarks. It keeps the workflow tight and focused on fast screenshot markup.
Along with standard arrows, rectangles, and ellipses, Annotely includes spotlight, zoom, and highlight tools for calling out small UI details. That makes it a good fit when a screenshot needs to point to something tiny but important.
Annotely includes a blur tool for hiding sensitive information. For API keys or passwords, use a solid-fill rectangle instead of blur.
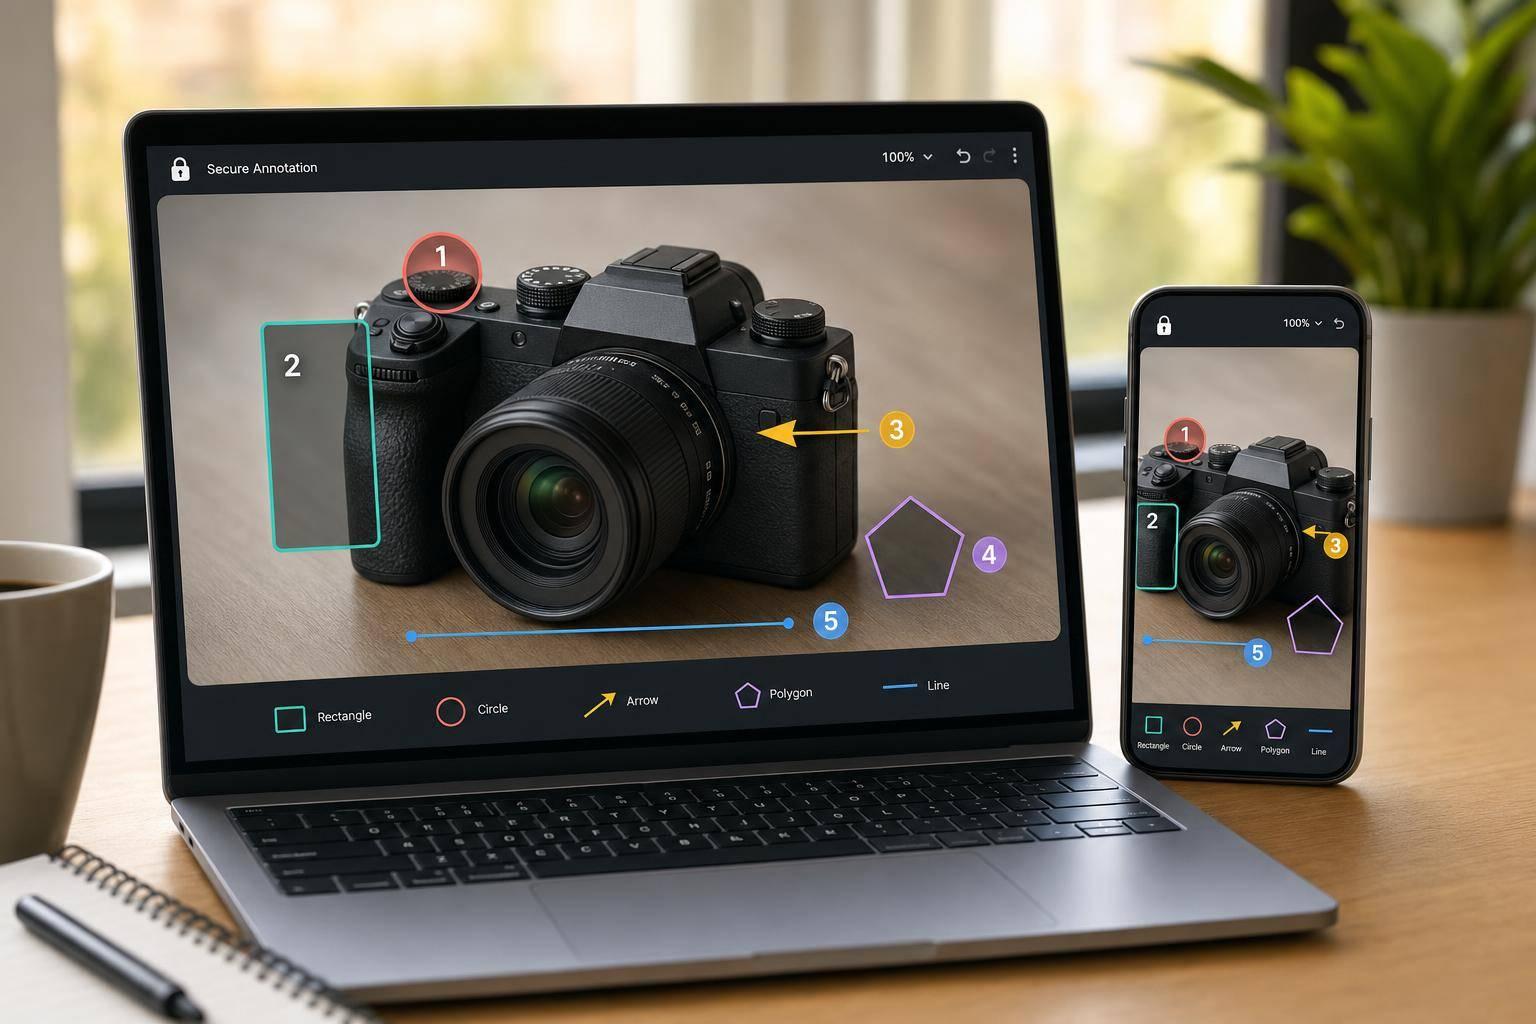
Annotely supports labels and numbered pins for step-by-step instructions. Those numbered pins are handy when you want a sequence of actions to stay visible on a single image instead of splitting the process across several screenshots.
These tools matter most when the job is a screenshot, not a full photo edit. Annotely works best for bug reports and step-by-step tutorials. Its multi-slide how-to editor keeps related screenshots in one project. It’s less useful for product images or design-heavy edits.
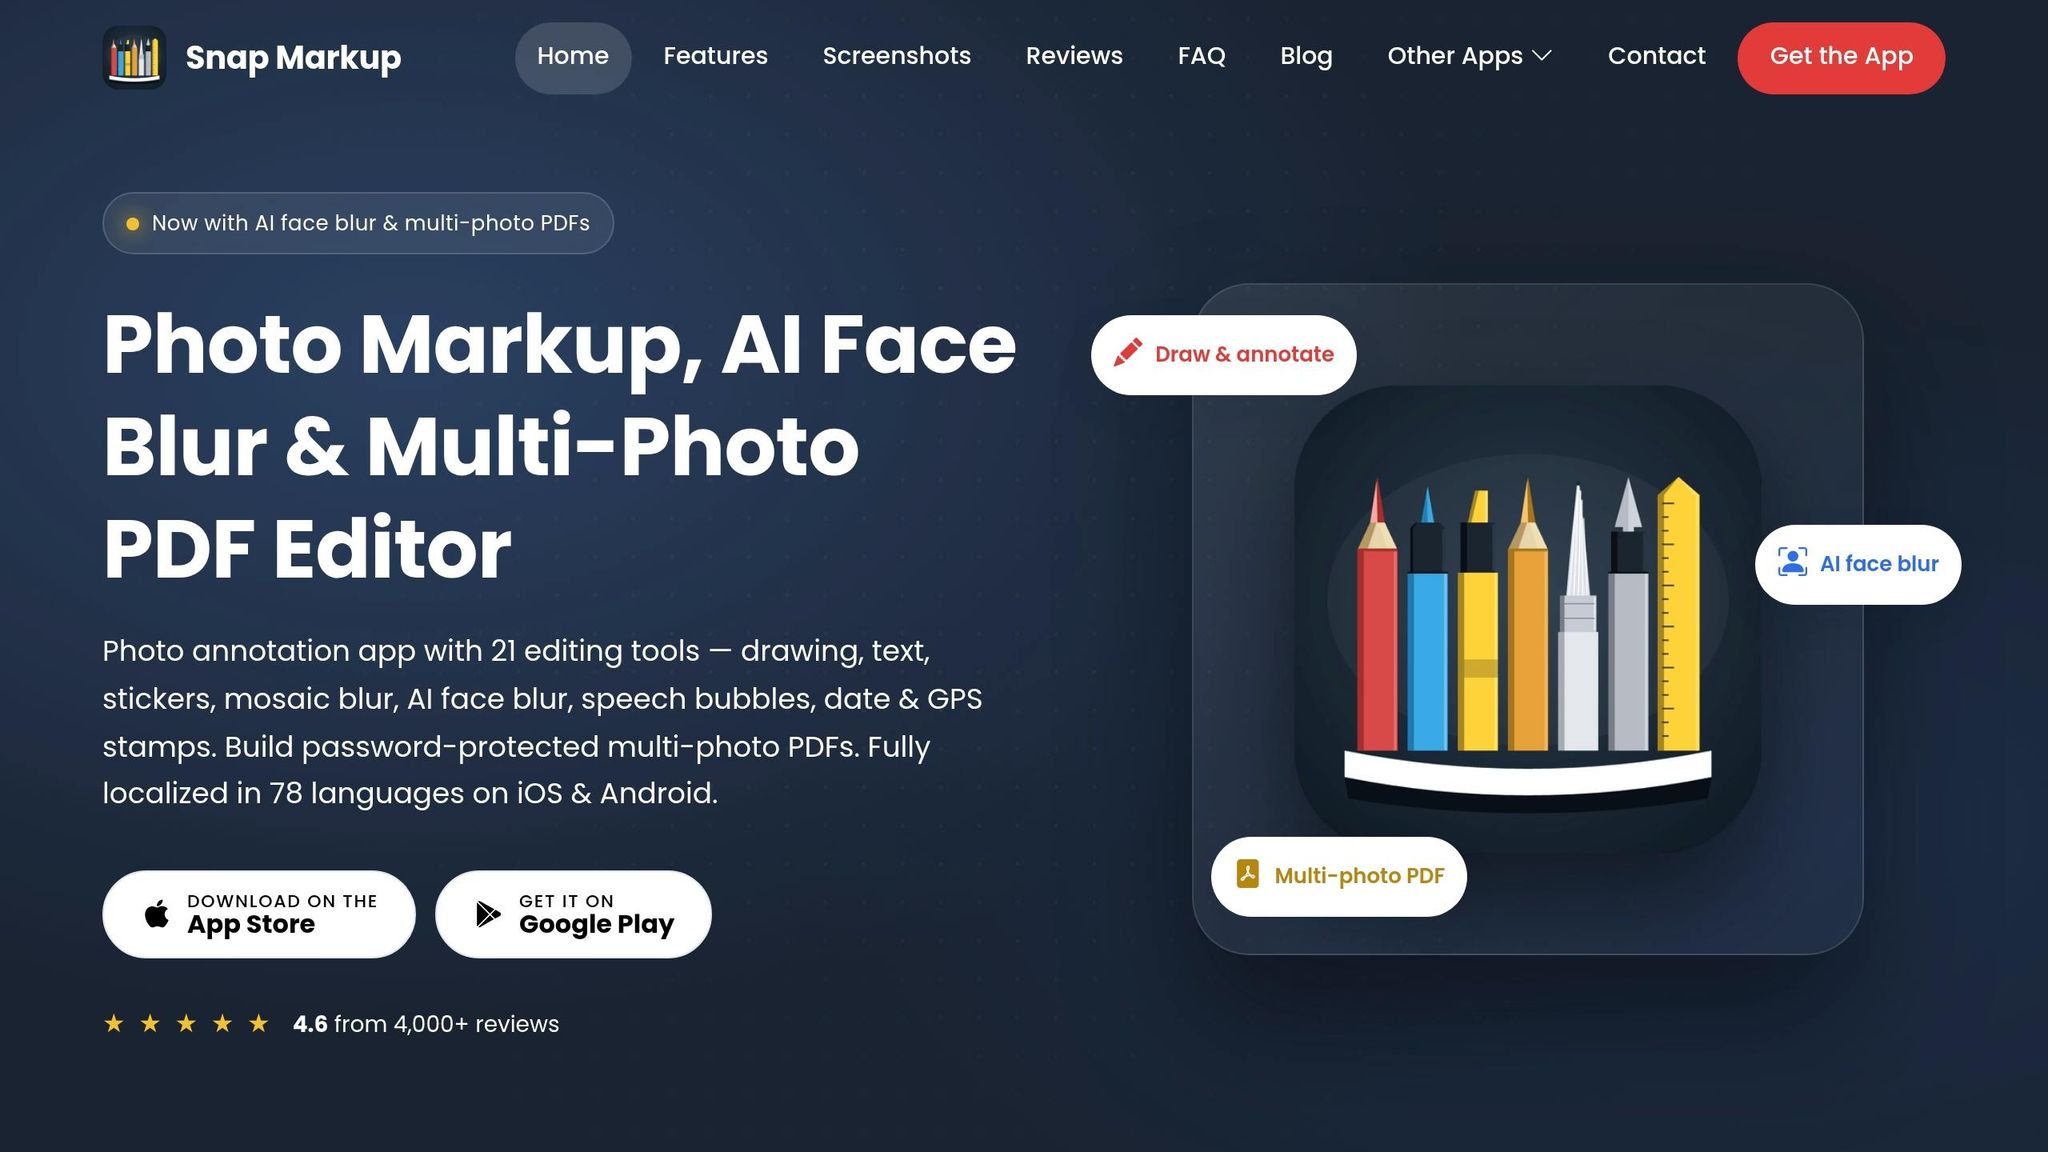
Snap Markup moves screenshot annotation to iPhone and iPad, which makes it handy when you're working from your phone instead of a desktop. It’s free to download, offers in-app purchases, and doesn’t lock you into a recurring subscription. The app is built for fast, touch-based markup on mobile.
You get the core tools most people need for quick annotation: arrows, boxes, and circles, and a magnifier for zooming in on small details. That setup works well when you need to point something out fast without digging through a bunch of menus.
Snap Markup includes a dedicated blur tool for hiding sensitive information before you share a screenshot. That matters for things like email addresses, names, account numbers, passwords, or internal UI data in a bug report or support ticket.
Text overlays let you place labels or short notes right on the image. Paired with shapes, that gives you enough room for quick mobile annotations and simple walkthroughs.
Snap Markup works well for bug reports, quick feedback, and product images when you need to mark up and send a screenshot from a phone. It’s made for mobile, touch-first editing rather than complex desktop documentation.
Zight is built for speed. It focuses on fast capture, annotation, and sharing across desktop, mobile, and Chrome. The main appeal is simple: you can capture, mark up, and share without slowing down your workflow.
Zight comes with arrows, lines, ellipses, rectangles, a freeform Path tool, and auto-numbered step markers. The Path tool stands out because it lets you draw freeform shapes instead of sticking to standard boxes and lines. The auto-incrementing numbered markers are also handy for tutorials and step-by-step instructions, since you can label each part of a process in order without extra manual work.
Zight includes a dedicated "Redact" tool that can blur or pixelate sensitive text or images on a screenshot. You can adjust the brush size and blur radius to hide specific text or image details before sharing. That matters when you're dealing with private data and don't want to miss a small detail. Redaction happens before upload and link generation. Zight is also SOC 2 Type II certified and HIPAA compliant.
The text tool supports font, size, style, color, alignment, line height, and hex colors. Text boxes stay editable and can be moved around until the screenshot is finalized. On busy interfaces, this pair makes the target obvious.
These features matter most when the image needs to move fast from capture to review. Zight works well for bug reports, tutorials, and async team updates because it combines quick capture, numbered steps, redaction, and instant sharing.
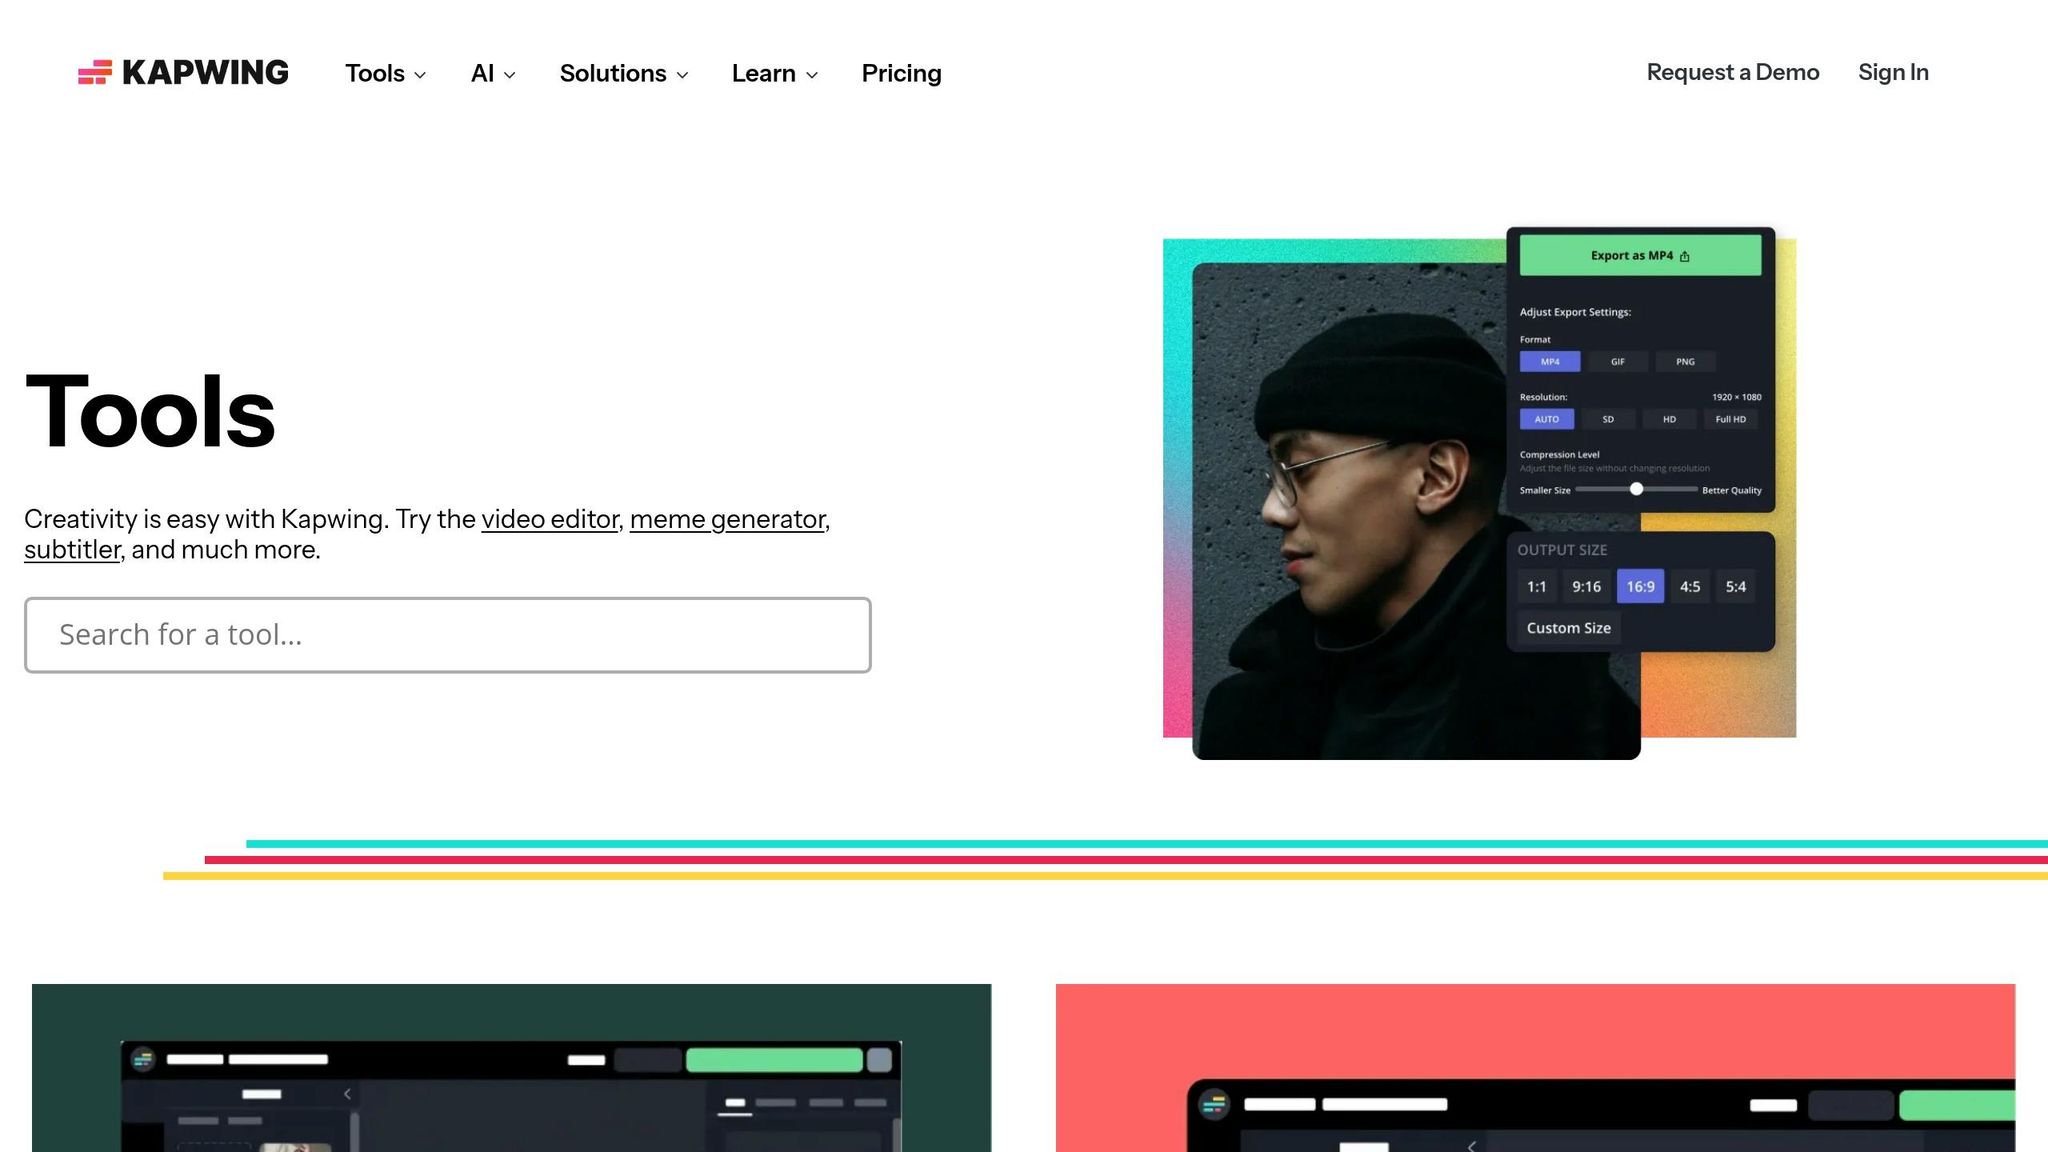
Kapwing works best when your annotation work starts with screenshots and then shifts into video walkthroughs, all inside one browser-based studio.
Kapwing includes vector arrows, lines, circles, rectangles, speech bubbles, check marks, and stars that stay crisp as you scale them. You also get freehand drawing with Marker, Pencil, and Highlighter brushes, along with controls for size and transparency.
Kapwing has a built-in blur tool for images, plus an AI-powered background blur feature. If you need to hide sensitive details, you can place solid vector shapes over the area or use the Draw tool with an opaque brush. In video projects, those redaction elements sit on the timeline, which means you can set exactly where they appear and how long they stay on screen.
For callouts, you can use speech bubbles, custom fonts, outlines, drop shadows, and animated text. Kapwing also lets you match brand colors with hex values and saved presets.
Kapwing is a strong fit for tutorials and product walkthroughs where one project needs to move from a still screenshot to a video demo. That setup is especially useful when the same shapes, text, and redaction need to work across both static images and motion content.
The deciding factors here are pretty simple: shape precision, secure redaction, clear callouts, and whether a tool fits the way you work.
For sensitive data like API keys, street addresses, and personal details, use opaque redaction. Blur works better when the content is less sensitive. Text and callouts also need to stay easy to read, even when the screenshot is crowded. In practice, browser tools lean toward speed, while apps make more sense for device-specific tasks.
Here’s how those features stack up across common annotation workflows.
| Tool | Shape Set | Blur/Redaction | Text/Callouts | Browser or App Model | Best Use Case |
|---|---|---|---|---|---|
| ROCKIMG | Rectangles, ellipses, arrows, lines | Blur, mosaic and pixelate | Custom text labels | Browser-based, no signup | General photo annotation, privacy-focused editing |
| Annotely | Arrows, rectangles, circles, lines, pins, zoom | Pixel blur | Labels and pins | Browser-based | Sequential tutorials and multi-slide how-to guides |
| Zight | Arrows, shapes, step numbers | Pixel blur | Editable text and step markers | Browser, desktop, and mobile | Async team collaboration and feedback |
| Snap Markup | Arrows, shapes, magnifier | Pixel blur | Text | iOS app | Mobile-first photo and screenshot markup |
| Kapwing | Arrows, circles, speech bubbles, freehand drawing | Blur, overlays | Styled text and brand callouts | Browser-based studio | Product visuals and tutorial walkthroughs |
What matters most isn’t the total number of features. It’s how fast you can mark up, hide private info, and share the result. If you’re filing bugs, go with tools built for quick redaction. If you’re making step-by-step guides, numbered walkthrough tools are a better fit. For quick edits on your phone, mobile apps make life easier. And if the image needs to look polished, brand-focused editors are the better bet.
Each tool has one clear upside and one tradeoff. The table below strips things down to the main plus point and the main limit.
| Tool | Pros | Cons | Best For |
|---|---|---|---|
| ROCKIMG | Free, no signup, and local processing | Less suited to step-by-step tutorials than tools with numbered pins | General annotation and light redaction |
| Annotely | No signup required, numbered pins, multi-slide editor | Paid plan unlocks advanced tools | Sequential tutorials and how-to guides |
| Snap Markup | Simple mobile interface, magnifier tool, no subscription fee | iOS/iPadOS only, no browser version | Mobile screenshot markup |
| Zight | Threaded comments for async feedback | Free tier capped at 25 items/month | Bug reports and team collaboration |
| Kapwing | Vector shapes, styled callouts, and video timeline support | Free tier adds watermarks to exports | Product images and tutorial walkthroughs |
For bug reports and tutorials, the best pick comes down to one thing: do you need async sharing, or do you need numbered steps on a single image?
Annotely works best when the order of steps needs to stay visible right on the screenshot. That makes it a strong fit for how-to guides, support docs, and process walk-throughs where readers need to follow along without jumping between slides.
For product images, Kapwing stands out because its styled callouts and brand presets help keep visuals polished across both static images and video formats. If you're making assets for a landing page, demo, or feature tour, that kind of consistency saves time.
One detail matters more than the tool name: how it hides sensitive data. Use solid redaction for passwords and API keys. Blur is only for low-risk masking.
For bug reports, Zight is a strong pick if you also want threaded comments for async feedback. For step-by-step tutorials, Annotely stands out because its numbered pins keep the order clear right on the screenshot. And for product images, Kapwing is the better fit when visual polish matters, thanks to its cleaner text styling and design tools.
If you want the simplest default, ROCKIMG covers the basics without getting in your way. It works fully in your browser, needs no account, and handles rectangles, ellipses, arrows, text, blur, highlight, compression, format conversion, and metadata removal.
When you're dealing with sensitive content, style takes a back seat to redaction. Use opaque blocks for passwords and API keys. Blur is better for low-risk masking.
For private screenshots, the safest pick is usually a browser-based tool that works fully on your device. Scanly, OptiPix, Photovoid, and uBlur all use client-side browser processing, which means your screenshots don’t leave your device and aren’t uploaded.
That matters when an image includes sensitive details like credentials, proprietary UI, or personal data. You still get the editing features you need - blur, pixelation, redaction, arrows, text, and labels - but the work happens locally in your browser.
Use blur when you want to hide information but still keep the image looking natural. It’s a good fit for basic privacy needs, where a light visual cover is enough.
For highly sensitive data like API keys, credit card numbers, addresses, or private credentials, use a redact tool instead. Redaction permanently replaces the pixels, so the original information is removed from the exported file.
For tutorial screenshots, sequence matters most. Use numbered step markers to show the order of actions so readers can follow the process without getting lost.
Use the smallest visual cue that does the job, like an arrow or a box. That keeps the image focused instead of cluttered. Keep annotations high-contrast, and make text labels short and easy to read at the final sharing size.