image tool
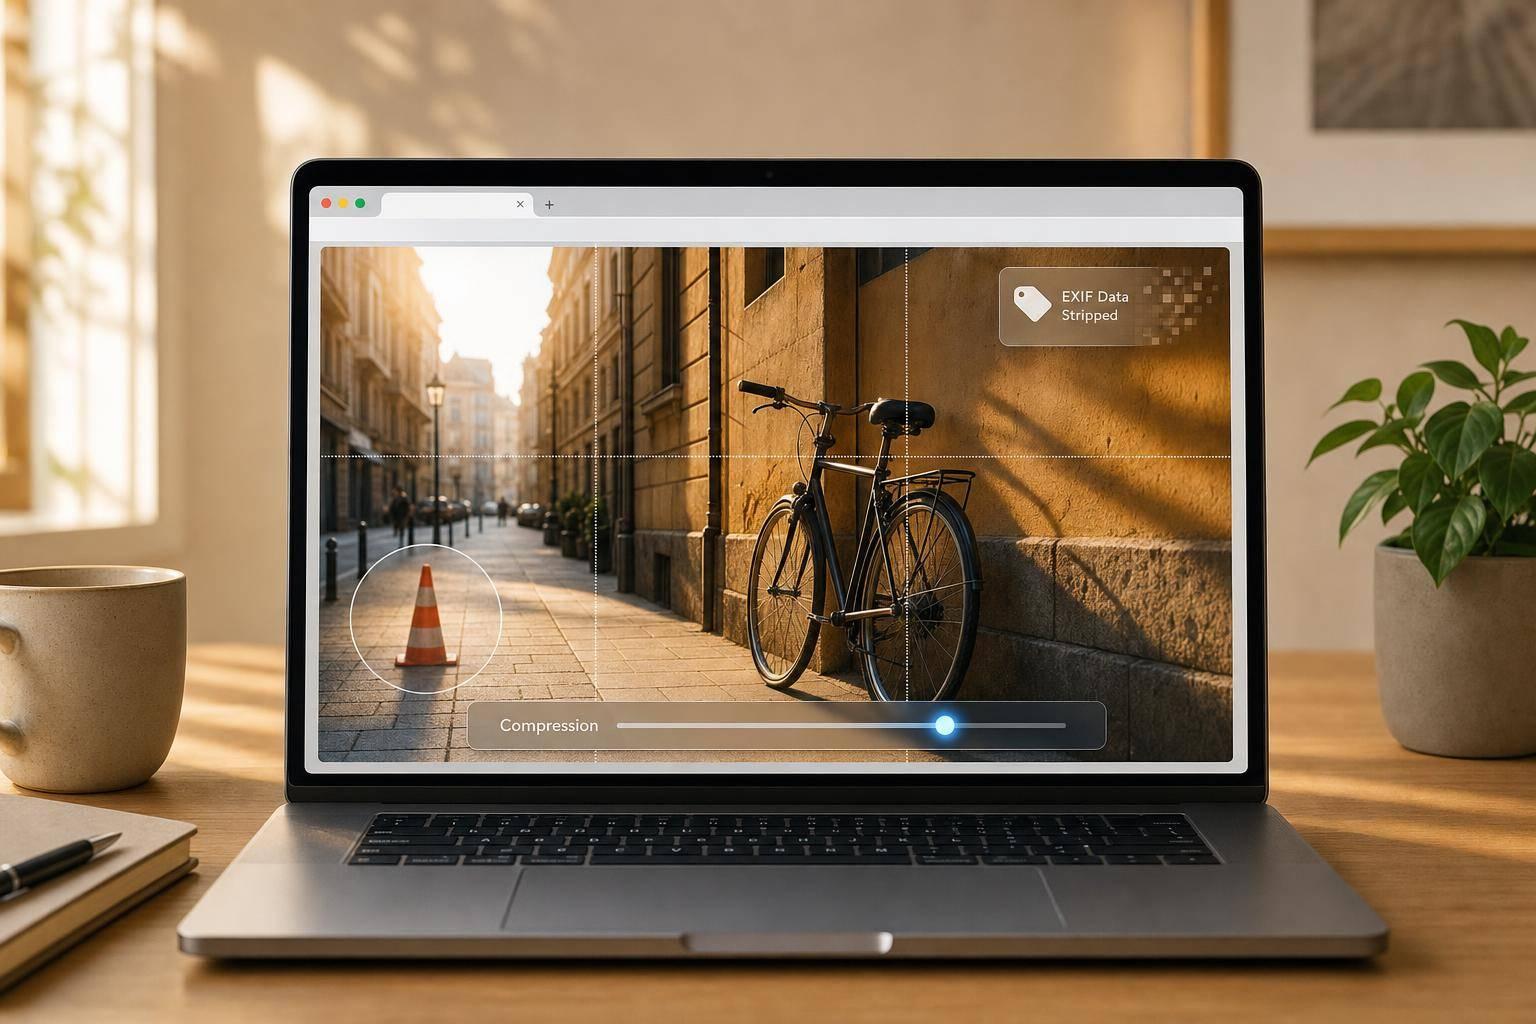

Yes - you can clean up a photo online without installing anything. I’d use a browser tool when I need to crop, straighten, remove small distractions, blur private details, convert file types, compress the file, and strip EXIF/GPS data before sharing.
Here’s the short version:
A few numbers help. For web sharing, JPG quality around 70%–85% is often a solid range. For a 4 × 6 inch print, I’d check that the image still has about 1,200–1,800 pixels on the short side after cropping.
| Task | Browser tool | Desktop app |
|---|---|---|
| Crop, rotate, compress, convert | Best fit | Works too |
| One photo at a time | Best fit | Works too |
| School, library, or work computer | Best fit | Often blocked |
| Remove EXIF/GPS data | Good fit | Good fit |
| Large RAW files | Limited | Better fit |
| Multi-layer retouching | Limited | Better fit |
| Batch editing hundreds of images | Limited | Better fit |
Bottom line: if I need a fast cleanup in one tab and don’t want to install software, browser editing is usually enough. The main things I watch are image quality, file format, and privacy.
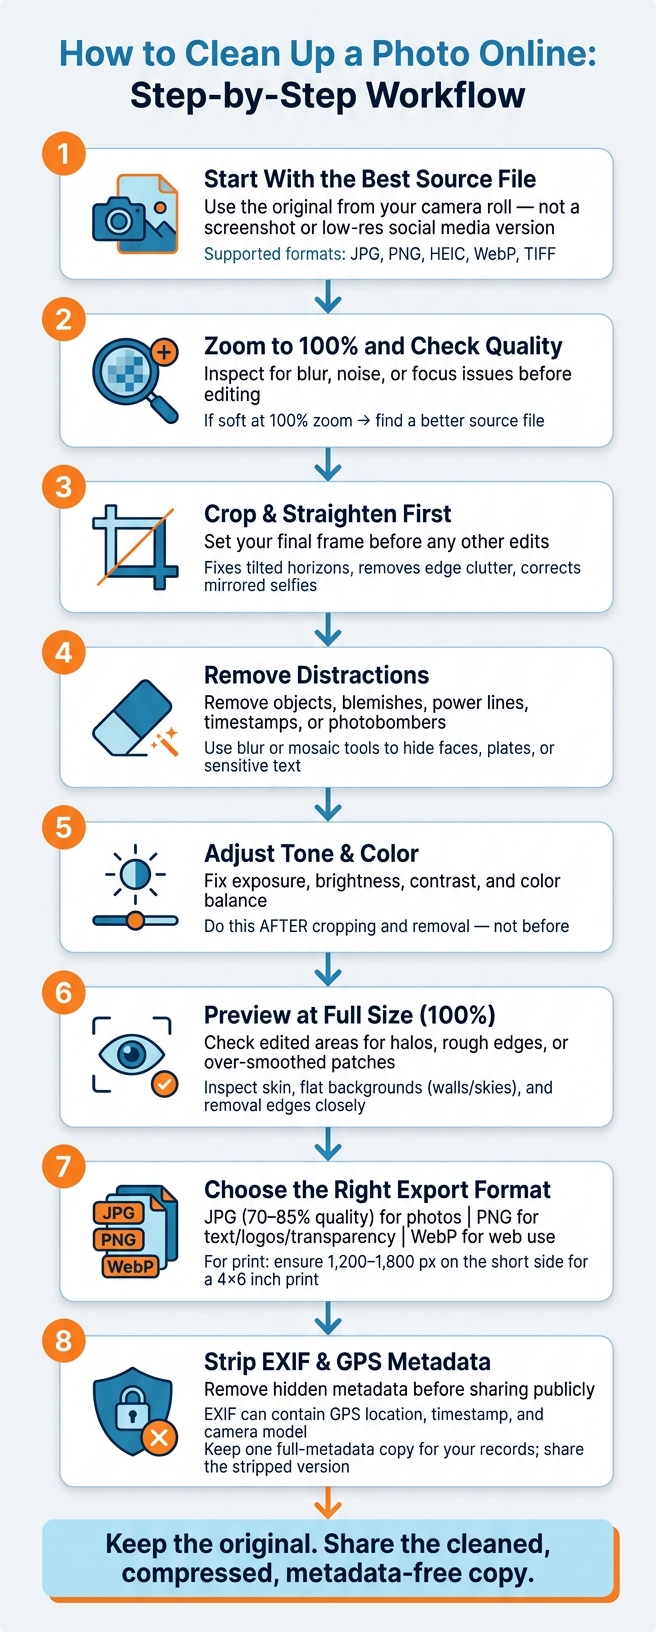
How to Clean Up a Photo Online: Step-by-Step Workflow
Start with the clearest file you have. If you took the photo on your phone, use the original from your camera roll instead of a screenshot or a low-resolution version saved from social media. When the source file is small or blurry, cleanup issues tend to stand out even more after cropping or retouching.
Upload the original in a supported format. Then zoom in before you edit anything. Make sure the image opens the right way, has enough resolution for what you need, and doesn’t already show blur, noise, or focus issues. If the photo looks soft at 100% zoom, it’s usually faster to track down a better source file than to spend time trying to fix a weak one. If it looks sharp at 100%, move on to cropping and straightening.
Use this order: crop and straighten, remove distractions, then adjust tone. Crop and straighten first. That sets the final frame, and it keeps you from cleaning parts of the image that you’ll cut away anyway. Say you have a slightly tilted travel shot. Straighten it before you remove a trash can or a stranger in the background, so the final result looks more natural.
Next, handle object or blemish removal. A product photo may need a dust spot removed. A profile photo may need a small blemish softened. A travel photo may need a power line, sign, or photobomber taken out. Once those distractions are gone, adjust exposure, brightness, contrast, and color to improve the overall look. This helps keep the cleanup process fast in the browser. Then check the image again at full size.
Before you download the file, zoom in to 100% and inspect the spots you edited. Object removal can look clean at thumbnail size but still show halos, rough edges, or over-smoothed patches up close. Pay close attention to skin in portraits, flat backgrounds like walls or skies, and the exact edges where an object was removed. If something looks wrong, undo that step or reduce the effect strength instead of exporting a flawed image.
Preview at 100%, fix any artifacts, then export in the format that fits your final use. ROCKIMG's compression tool can also help you choose a specific quality level when you need to hit a file size limit.
Once you have the basic workflow down, the next step is picking the right cleanup tools, file format, and export settings for the image in front of you.
In a browser editor, cleanup usually comes down to three jobs: removing distractions, improving portraits, and fixing composition.
For distraction removal, select the part you want gone - a power line, a timestamp, a logo - and the tool blends that area into the background. If you don't need full removal, blur and mosaic tools are often the better pick. Gaussian blur softly hides backgrounds or faces. Pixelation, or mosaic, works better when you need to block out license plates or text. ROCKIMG includes both a Blur Photo tool and a Photo Mosaic tool for that.
For portraits, a light touch usually looks best. ROCKIMG's Beauty Filter smooths skin with an adjustable strength. Keep it low so the photo doesn't end up looking overly airbrushed.
Composition fixes are often the fastest way to improve a photo. Crop first to cut out clutter near the edges. Rotate fixes a tilted horizon. Flip corrects a mirrored selfie. Circle crop is especially handy for profile photos, where a neat finished shape can make the image look more polished. ROCKIMG supports crop, circle crop, mirror/flip, and rounded corners.
Those edits deal with the image itself. After that, the next call is choosing the file format that keeps it in the best shape.
Pick the output format based on what the image contains and where you plan to use it. ROCKIMG's conversion tools let you switch between JPG/JPEG, PNG, WebP, BMP, HEIC/HEIF, TIFF, and AVIF right in the browser.
Here’s a simple breakdown:
| Format | Best for | Key trade-off |
|---|---|---|
| JPG/JPEG | Standard photos, product shots, travel images | Lossy compression; quality drops slightly each time it's re-saved |
| PNG | Screenshots, logos, text-heavy images, transparency | Larger file size; preserves crisp edges |
| WebP | Web pages, blogs, online portfolios | Smaller than JPG or PNG; check platform compatibility first |
| HEIC/HEIF | iPhone camera originals | Efficient storage, but may need conversion for many platforms |
| TIFF | Archival or print workflows | Very large files; not practical for web sharing |
WebP is often a smart pick for web use. It can produce smaller files than JPG or PNG at similar quality, which helps when you're uploading a batch of images or building a fast-loading portfolio. But there's a catch: if the platform doesn't support WebP, export as JPG for safer compatibility.
If you're working with HEIC files from an iPhone, ROCKIMG can open them directly or convert them in-browser before editing. That means you can skip a separate desktop conversion step.
Once you've picked the format, file size and compression decide the balance between image quality and loading speed.
The trade-off is pretty simple: higher quality means a larger file, and lower quality means a smaller one. The goal is to keep the file small enough to share fast while still looking sharp where people will notice.
For web sharing, use JPG quality around 70%–85%. If the image has text or very fine edges, go higher. ROCKIMG's Image Compressor lets you set a specific quality level and maximum dimensions, so you can aim for a target file size instead of guessing.
For print, things change a bit. A 4 × 6 in print needs about 1,200–1,800 pixels on the short side to look crisp. If you cropped the image heavily, check the pixel dimensions before exporting. A circle crop or a tight crop can shrink the image more than you'd expect.
Pay close attention to text and sharp edges. If the image includes a product label, a name, or thin line detail, zoom to 100% after export and look for blocky artifacts or halos. If you spot them, lower the compression or switch to PNG, which uses lossless compression and keeps edges cleaner.
Next, review privacy and metadata before sharing the file.
Before you share an exported image, check where the edit happens and what data stays with the file. Some tools work client-side, which means the edit happens locally in your browser. Others are server-side, which means your photo gets uploaded to a remote server.
Before you upload a personal or business image, look for a few basic trust signals:
If a tool makes you register just to crop an image, that's a red flag. In many cases, it points to data collection you don't need.
Every photo from your phone or camera carries hidden metadata - EXIF data - that most people never notice in a standard image viewer. EXIF can include your camera make and model, exposure settings, a timestamp like 07/23/2026, and often exact GPS coordinates showing where the photo was taken.
That last part can be a bigger deal than it sounds. A yard sale photo with GPS data still attached can point strangers straight to your home. A school project image can show where and when a student was. Client photos can also reveal shoot locations in ways that clash with a nondisclosure agreement.
People who care about privacy, along with many security pros, often suggest stripping metadata before public uploads. ROCKIMG includes an EXIF removal tool and file inspection tools so you can see what's embedded before you share anything. A smart way to handle this is simple: keep one full-metadata copy for your records, then export a stripped version for a marketplace, social platform, school portal, or client.
Browser cleanup is a good fit for locked-down devices and quick one-off tasks like crop, compress, convert, or remove metadata. If you're using a library PC, a company laptop with IT limits, or a shared family computer, you may not be able to install software. But you can still open a browser tab and finish the job in a few minutes without leaving software behind.
There's another plus: updated browsers make the same workflow work across devices. You can do the same task on a Windows PC at work, a MacBook at home, or a Chromebook at school.
That said, browser tools do have limits. They're best for light edits and fast exports. Very large RAW files, multi-layer projects, or batch jobs across hundreds of images can run into browser memory limits. When that happens, things may slow down, or the tab may crash. For heavier work like that, a desktop editor makes more sense.
Use the table below to match the tool to the job.
| Criteria | Browser-based cleanup | Desktop photo editors |
|---|---|---|
| Setup time | Instant; open a URL, no install or updates | Requires installation and updates |
| Ease of use | Streamlined for specific tasks; low learning curve | More powerful but steeper learning curve |
| Privacy | Local browser processing keeps files on your device; server-side tools upload them | Files stay on local storage; depends on device security and sync services |
| File size limits | Often capped by service limits and browser memory | Handles larger files with sufficient RAM and disk space |
| Performance on large images | May slow or crash on very high-resolution files | Generally better for intensive edits and large images |
| Batch editing | Usually built for one image at a time; basic batch options | Strong batch capabilities via scripts and automated actions |
| Offline access | Requires an internet connection | Works fully offline once installed |
| Best use cases | Quick edits, format conversion, metadata cleanup, borrowed or locked-down devices | Deep retouching, layered projects, large-scale batch workflows |
Browser-based cleanup is the best pick for fast, everyday edits when you don't want to install software, need to switch devices, or you're working on a school, office, or shared computer. After that, the main tradeoff is simple: speed or deeper control. For casual touch-ups and social posts, the convenience is hard to beat. If you're handling big batches, high-resolution RAW files, or detailed retouching, desktop apps still fit better.
A clean workflow doesn't need to be fancy. Go in this order: crop and straighten, fix tone, remove distractions, then fine-tune color. When it's time to save, export as JPEG, PNG, or WebP based on where the image is going. Keep the original first, then make a compressed copy for sharing.
One more thing before you post or send the file: check the metadata. A phone photo can carry GPS location, timestamp, and camera details without showing any of it on the image itself. Removing that data is a smart privacy habit, especially for photos taken at home, around your kids, or at a client site.
ROCKIMG brings crop, compress, convert, and EXIF-removal tools into one browser tab. That setup makes browser cleanup a fast way to finish everyday edits and share them with less risk.
Usually, no. Most online cleanup tools keep your photo’s original size and image quality, especially when the job is something light, like removing metadata.
Compression is a bit different. It can cut some detail based on the settings you choose, but the goal is to keep image quality as high as possible while shrinking file size. Browser-based processing helps too, since it skips extra server-side re-encoding that can sometimes hurt quality.
Check the tool’s privacy note before you process any files. Some tools, like ROCKIMG EXIF Remover, clearly say they remove GPS location coordinates from image metadata.
You can double-check that yourself, too. Look at the original metadata before processing, then inspect the processed file and confirm the GPS data is gone.
With local browser-based processing, your files stay on your device.
Use PNG instead of JPG when you need transparency. That’s the main reason people choose it.
It’s also a good fit for assets that need clean backgrounds or more layered visuals across devices.
If your project needs cross-device compatibility or higher color depth in certain cases, PNG is often the standard pick.