image tool
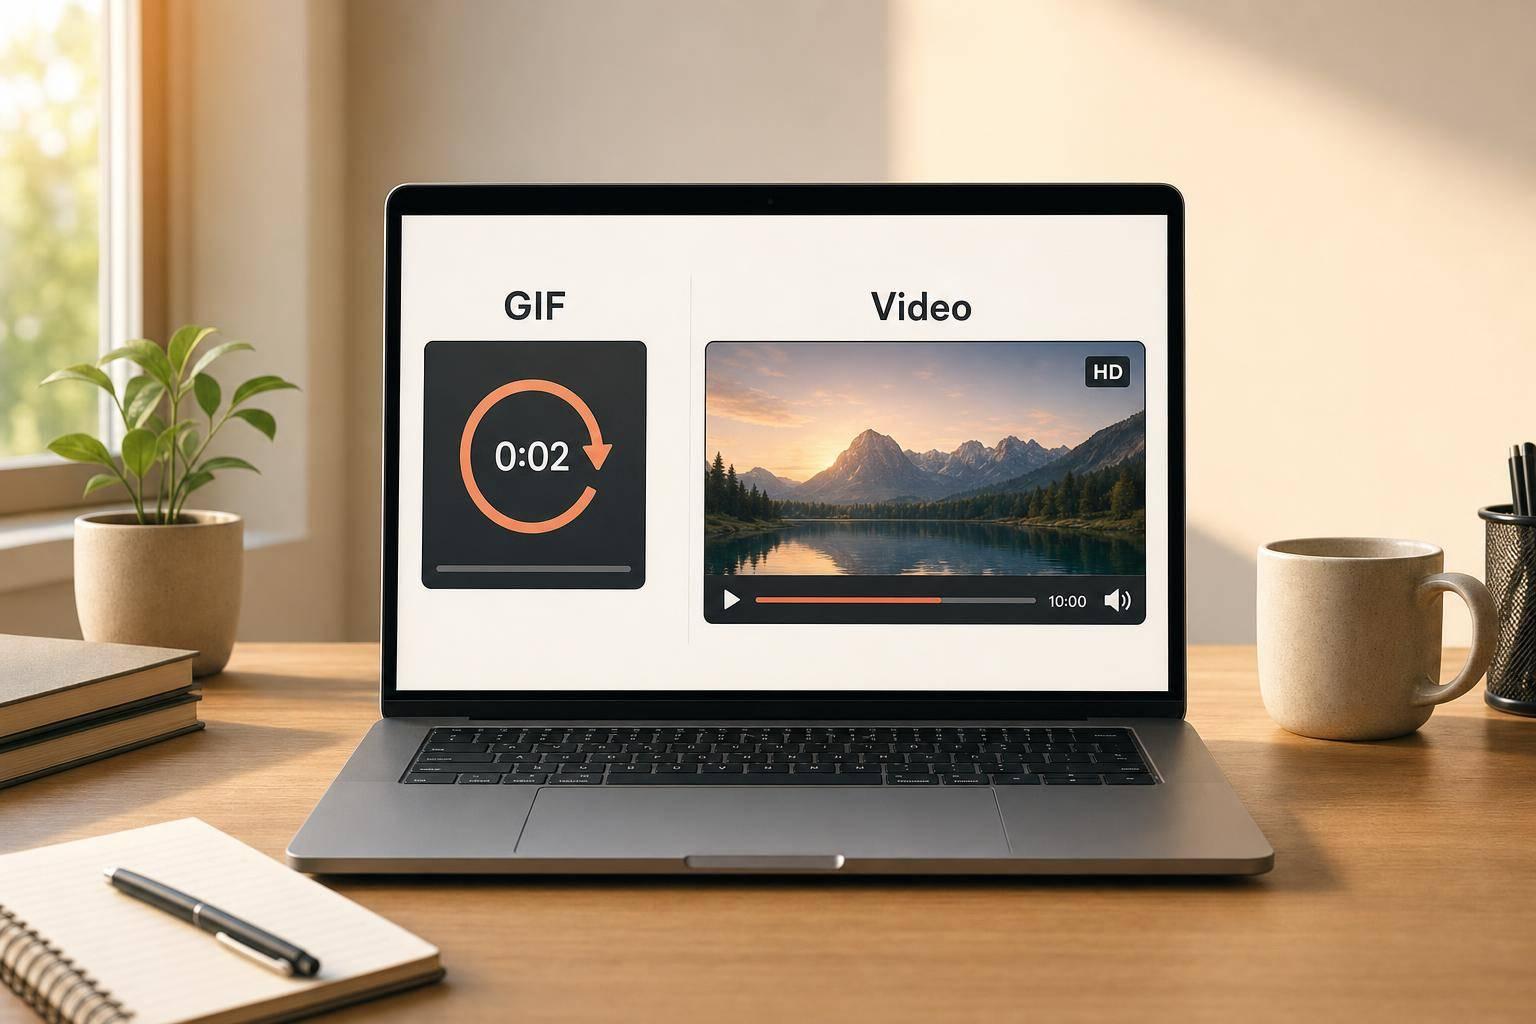

Most of the time, the answer is simple: use a GIF tool for short silent loops, and use a video tool for anything with sound, longer runtime, or cleaner image quality. If you want one fast rule, here it is: looping only = GIF; audio, small files, or better quality = video.
I’d make the choice based on 4 checks:
That means GIFs make sense for things like:
And video makes more sense for:
One more simple rule: if the clip needs to work like an image and loop on its own, I’d lean GIF. If it needs controls, captions you can edit later, or sound, I’d pick video.
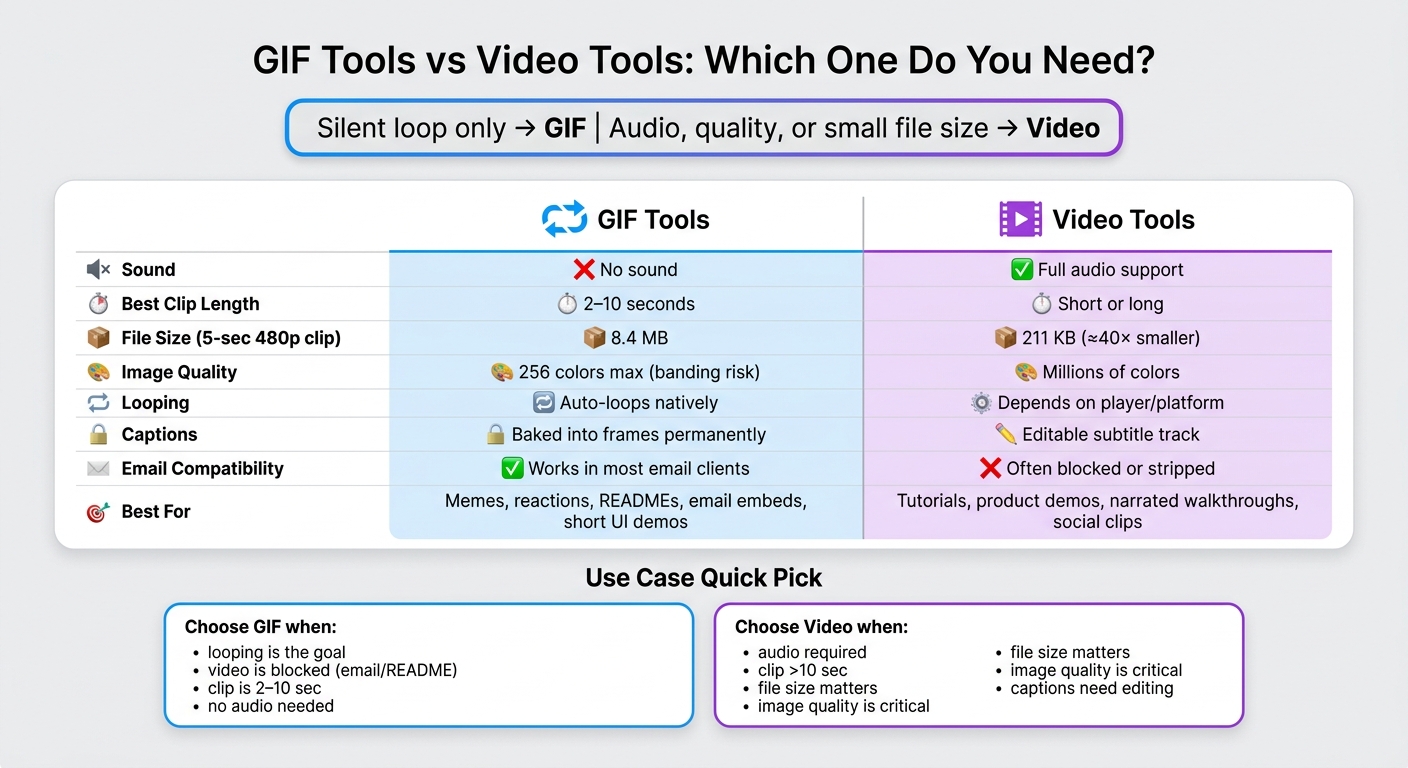
Quick Comparison
| Check | GIF Tools | Video Tools |
|---|---|---|
| Sound | No | Yes |
| Best clip length | Short, often 2–10 sec | Short or long |
| File size | Much larger | Much smaller |
| Image quality | Lower, 256 colors | Higher, millions of colors |
| Looping | Auto-loop | Depends on player/platform |
| Best for | Memes, reactions, email, READMEs | Tutorials, demos, social clips |
So if you’re choosing between the two, I’d keep it plain: GIFs are for silent looping; videos are for almost everything else.
GIF vs Video Tools: Quick Comparison Guide
Use a GIF tool when a clip needs to loop and appear in places where video playback gets blocked. In those cases, compatibility matters more than image quality or sound.
GIFs work well for reaction loops, memes, help docs, and short UI demos without audio. A 2–10 second UI loop is a strong fit for GIFs. The same goes for reactions shared in Slack or Discord.
They also show up inline in GitHub READMEs and on PyPI or npm pages, where video tags are stripped. And they display well in email clients that block video.
Once you decide to use a GIF, the workflow is usually pretty simple. Most people need to:
Keep clips short. 2–6 seconds usually works best.
You also need to stay within platform limits. That means 15 MB for X, 8 MB for free Discord uploads, and about 2 MB for email GIFs. For sizing, use about 480 px for chats and 640 px for blog posts to balance file size and clarity.
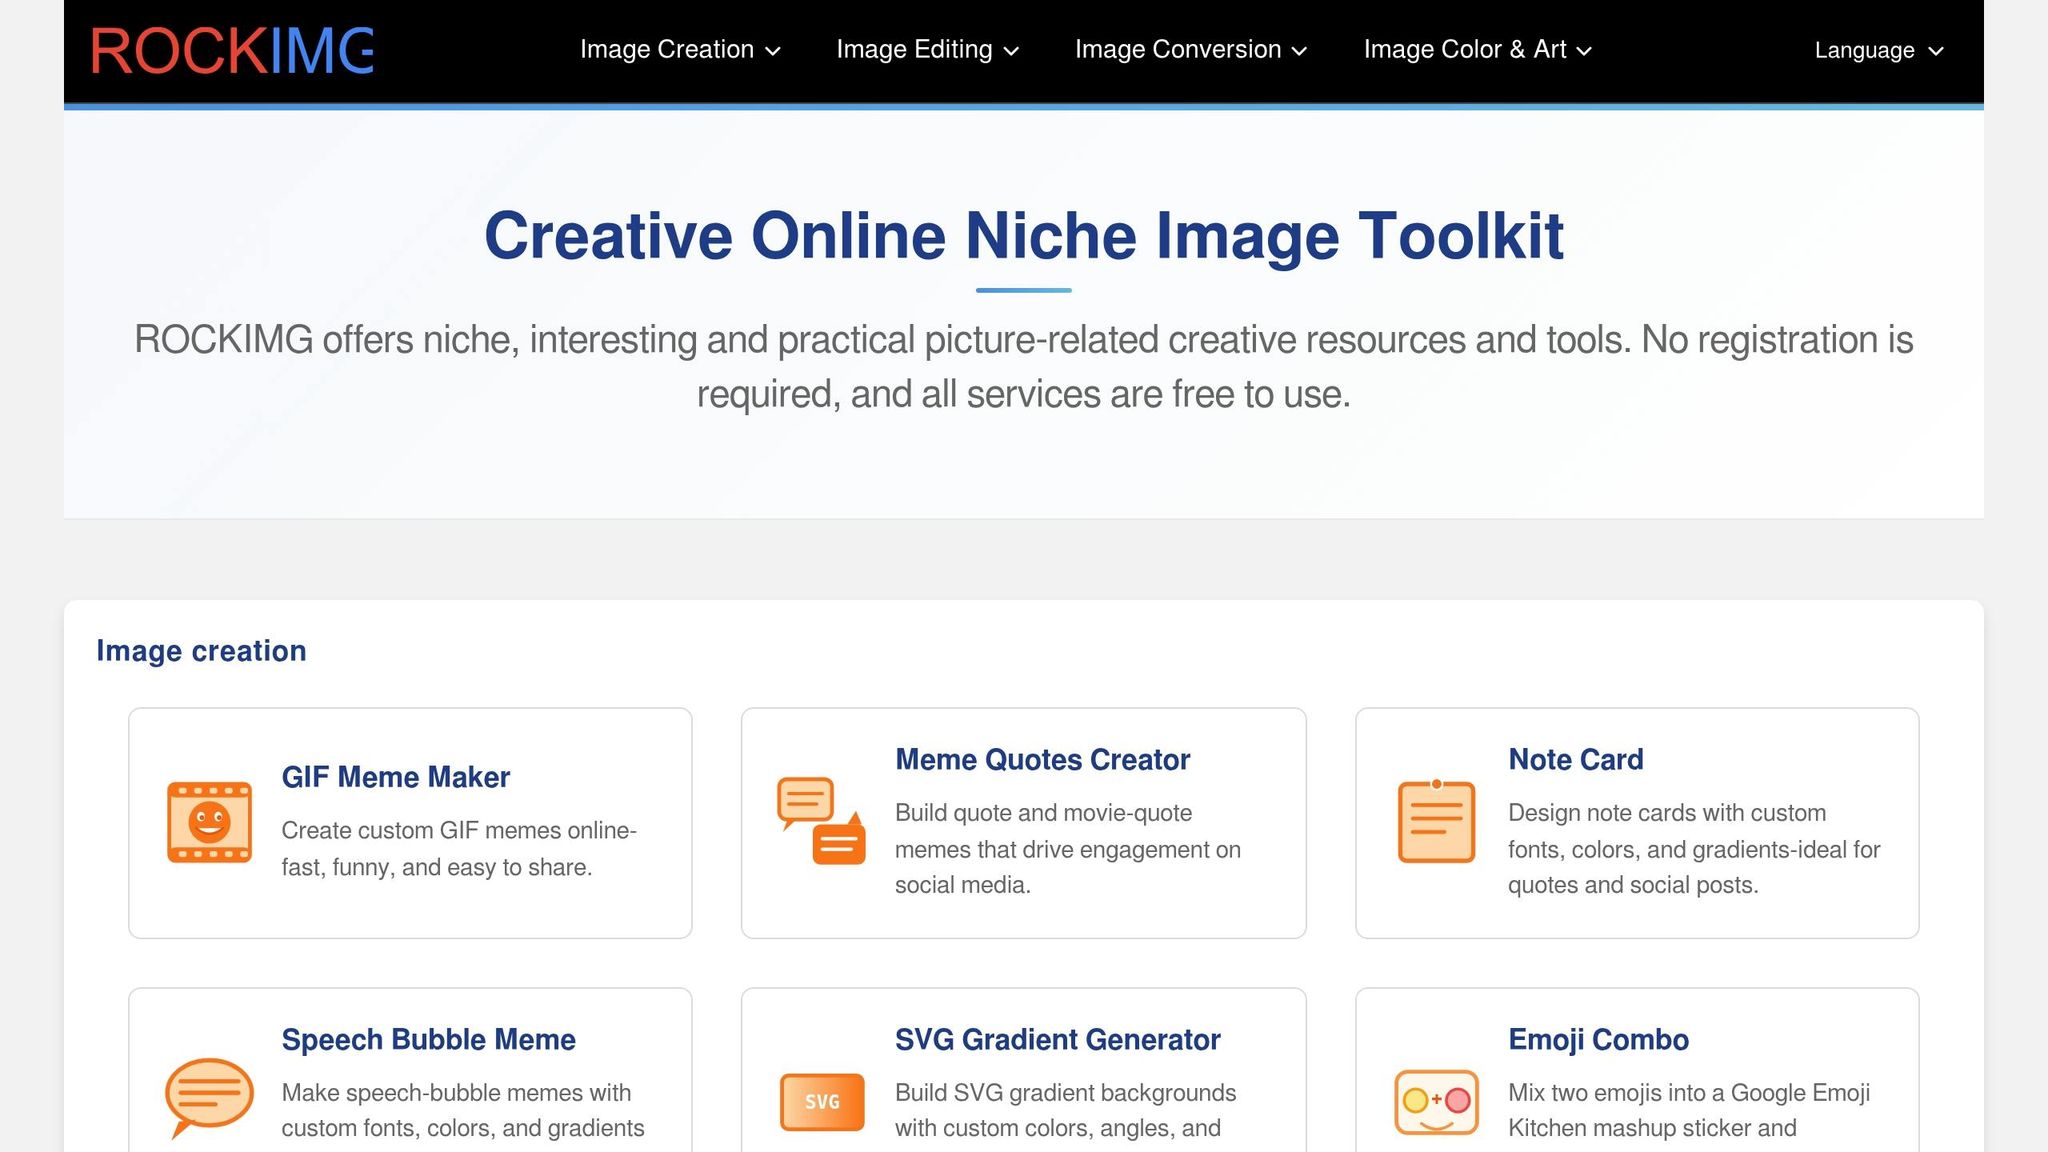
If that's your workflow, ROCKIMG keeps the whole process in the browser with no registration. You can make a GIF meme, add captions, crop the frame, combine GIFs, extract frames from video, and compress files before sharing.
If a clip needs sound or better image quality, use video. That’s usually the tipping point. GIFs top out at 256 colors, which can lead to banding, while video keeps millions of colors. And once you switch formats, the editing process changes too.
Video works well for narrated walkthroughs, product demos, and social clips that include sound or several steps. If someone needs to hear narration or follow a clip that runs longer than 30 seconds, video is the more practical choice. It also gives viewers playback controls, so they can pause, rewind, or move through harder steps at their own pace.
For social clips, MP4 with H.264 is a safe default. Most social platforms re-encode uploads, so starting with video usually holds image quality better than turning the clip into a GIF first.
In day-to-day use, video tools handle a different kind of editing than GIF tools. Most video work comes down to a small set of repeat tasks:
Video files also stay much smaller than GIFs for the same clip, which makes uploads and sharing easier.
Here’s the fast way to choose: match the tool to the job.
Use four checks:
Once you look at those, the right format usually becomes pretty obvious.
GIF has one big edge: it loops on its own with no extra setup. That makes it a natural fit for short reactions and simple motion snippets. But file size changes the picture fast. In one test, a 5-second 480p screen recording came out to 8.4 MB as a GIF and just 211 KB as an MP4 - about 40× smaller. On top of that, GIF’s 256-color limit can lead to visible banding that video doesn’t have.
The editing process is different too. GIF editing is frame-based. You trim frames, place text directly into those frames, and shrink the file by cutting frame count, FPS, dimensions, or colors. Every edit gets baked into the file.
Video editing works on a timeline. You can trim with exact in and out points, add captions as a separate subtitle track, and compress by changing bitrate and codec settings. That setup makes later edits much less of a headache. If you’ve ever had to change one line of text at the last minute, that difference matters.
| Task | GIF Tools | Video Tools | Best Choice |
|---|---|---|---|
| Reaction loop | Native looping, no friction | Requires autoplay limits | GIF |
| Silent feature preview | Good, but large files | Smaller file, sharper quality | Video |
| Narrated tutorial | Not suitable | Audio support, playback controls | Video |
| Captions | Embedded in frames permanently | Separate subtitle track, editable | Video |
| Social resizing | Quality can drop at smaller sizes | Aspect-ratio controls preserve quality | Video |
| Compression | Reduce FPS, frame count, colors | Bitrate and codec control keeps files smaller | Video |
| Email embed | Works in most email clients | Often blocked or stripped | GIF |
So the pattern is pretty simple: GIF works best when instant looping is the whole point, while video wins when size, sound, editing control, or image quality matter more.
After looking at the main use cases, the choice is pretty simple: use a GIF tool when the content needs to loop silently in a spot where video playback may not work well, like a README, an email embed, or a short UI loop.
Use a video tool when you need sound, longer clips, or better image quality. The file size gap usually makes the choice even clearer. A 5-second 480p screen recording is about 8.4 MB as a GIF and 211 KB as an MP4 - about 40× smaller.
For GIF edits, ROCKIMG handles conversion, trimming, captioning, compression, and resizing right in the browser.
Silent loop → GIF tool. Audio, length, or quality → video tool.
Yes. You can convert a GIF into a video file like MP4 or WebM.
This is often the better move because video files can be much smaller - sometimes 15 to 20 times smaller - while still looking better. One thing to know: GIFs don't store audio, so the converted video won't have sound either.
MP4 is usually the better pick for social media. It gives you better quality at a much smaller file size, which makes posting and playback a lot easier. On top of that, many platforms convert uploaded GIFs into video files anyway.
Use MP4 for product demos, narrated tutorials, or clips longer than 5 seconds. Save GIFs for short, silent loops or reaction moments where native autoplay helps.
Keep GIFs small by focusing on four things:
The idea is simple: fewer frames, fewer pixels, and fewer colors mean less data to load. You still get motion that looks smooth enough for most web uses, without a bloated file dragging things down.